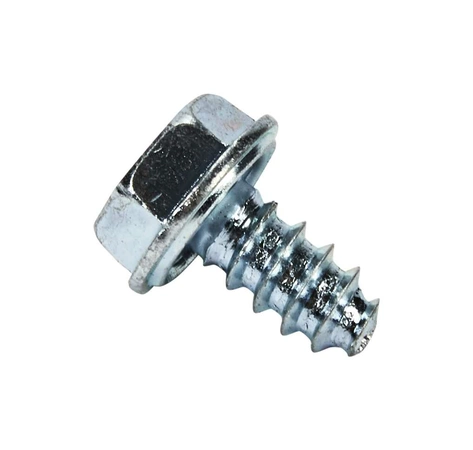
WP3390631 Whirlpool Screw

WP3390631 Whirlpool Screw
Weight : 0.01 lbs
Package Dimension : 0.50 x 0.37 x 0.37
Product Details
Reviews
Replaces Parts
Installation Instructions
Compatible Models
Compatible Brands
WP3390631 Whirlpool Screw
Weight : 0.01 lbs
Package Dimension : 0.50 x 0.37 x 0.37
Please Verify Your Purchase to Submit a Review
The following parts are replaced by this product
- 912197
- 9420601
- 757528
- 36639
- 40046701
- 503688
- 40064801
- 99002749
- 3390631
- 4312464
DIY Instructions for Replacing the Whirlpool WP3390631 Screw
1. Disconnect the power: Before beginning any DIY project, it's important to ensure that all power has been cut off. Unplug the appliance or shut off the relevant circuit breaker to be safe.
2. Access the screw: To access the Whirlpool WP3390631 Screw, remove any screws or fasteners that hold the panel in place. Carefully lift the panel away from the frame and set it aside.
3. Remove the old screw: Using a screwdriver, carefully loosen the old screw and remove it.
4. Install the new screw: Take the new screw and insert it into the same hole as the old one. Hand-tighten to secure in place.
5. Replace the panel: Carefully replace the panel and secure with the screws and/or fasteners.
6. Test the repair: Reconnect the power and test the appliance to ensure that the screw replacement was successful.
With these easy steps, you can easily replace the Whirlpool WP3390631 Screw. Taking the time to complete this DIY project can save you trips to the repair shop and money on costly repairs.
Please keep in mind, these instructions are for general guidance and should always be used in conjunction with the manufacturer's manual, if available.


