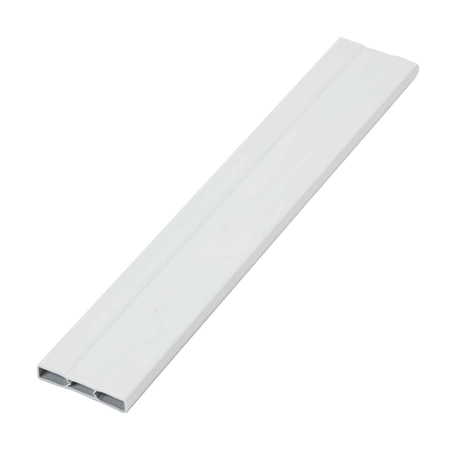
WPW10307490 Whirlpool Door Trim Assembly

The Refrigerator Door Shelf Rail is a white plastic piece that snaps into place on the inside door of your appliance, designed to hold small items such as condiments or other jars and bottles. This replacement part is easy to install and can replace a lost, damaged or stained door shelf trim. Replacing this part will require no disassembly or repair experience.
Part Specification
• This product is a Factory Certified Part. These three words represent quality parts and accessories designed specifically for your appliance. Time tested engineering that meets our strict quality specifications
• This product is a replacement part
• Package contains (1) Refrigerator Door Shelf Rail
• No tools required for installation
Weight : 0.32 lbs
Package Dimension : 10.62 x 1.75 x 2.00
Product Details
Reviews
Replaces Parts
Installation Instructions
Compatible Models
Compatible Brands
The Refrigerator Door Shelf Rail is a white plastic piece that snaps into place on the inside door of your appliance, designed to hold small items such as condiments or other jars and bottles. This replacement part is easy to install and can replace a lost, damaged or stained door shelf trim. Replacing this part will require no disassembly or repair experience.
Part Specification
• This product is a Factory Certified Part. These three words represent quality parts and accessories designed specifically for your appliance. Time tested engineering that meets our strict quality specifications
• This product is a replacement part
• Package contains (1) Refrigerator Door Shelf Rail
• No tools required for installation
Part Specification
• This product is a Factory Certified Part. These three words represent quality parts and accessories designed specifically for your appliance. Time tested engineering that meets our strict quality specifications
• This product is a replacement part
• Package contains (1) Refrigerator Door Shelf Rail
• No tools required for installation
Weight : 0.32 lbs
Package Dimension : 10.62 x 1.75 x 2.00
Please Verify Your Purchase to Submit a Review
The following parts are replaced by this product
- 2209680
- 2209681
- 2219982K
- 2198630
- W10307490
Replacing the Whirlpool WPW10307490 TRIM-DOOR
STEP 1: Disconnect power to the appliance. If the appliance is hard wired into the house you will need to turn off the circuitbreaker.
Remove any screws connecting the frame to the cabinet and remove the frame. Then, gently lift the door off of the hinge pins, and lay it down in a safe location.
STEP 2: Remove the screws that hold the inner and outer trim pieces on the door sides. Carefully remove the inner and outer trim pieces from the door, and set aside for future use.
STEP 3: Install the new trim pieces in the same locations as the old trim pieces. Use the supplied screws to attach the inner and outer trim pieces to the door.
STEP 4: Place the door back onto the hinge pins and reattach the frame to the appliance using the appropriate screws. Reconnect power to the appliance.
STEP 5: Test the door for good alignment. Open and close the door several times to ensure that the trim pieces are installed correctly.
Please keep in mind, these instructions are for general guidance and should always be used in conjunction with the manufacturer's manual, if available.


