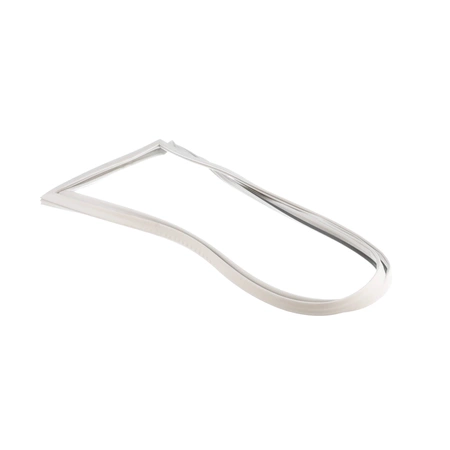
2159074 Whirlpool Door Gasket Seal

Ensure your refrigerator operates at peak efficiency with this high-quality gasket and seal designed for a range of leading appliance brands. Perfectly compatible with Admiral, Amana, Jenn-Air, Kenmore, Kitchenaid, Magic Chef, Maytag, Norge, Roper, and Whirlpool, this durable product helps prevent cold air leaks, maintaining optimal temperatures for your food and beverages. Crafted by Whirlpool, it guarantees a precise fit and long-lasting performance, making installation straightforward and hassle-free. Replace your worn or damaged seal to Maintain energy efficiency, reduce electricity bills, and prolong the life of your refrigerator. Maintain your appliance with this essential part and enjoy consistent cooling power for all your storage needs.
Weight : 11.61 lbs
Package Dimension : 31.42 x 20.08 x 2.56
Product Details
Reviews 1
Replaces Parts
Installation Instructions
Compatible Models
Compatible Brands
Ensure your refrigerator operates at peak efficiency with this high-quality gasket and seal designed for a range of leading appliance brands. Perfectly compatible with Admiral, Amana, Jenn-Air, Kenmore, Kitchenaid, Magic Chef, Maytag, Norge, Roper, and Whirlpool, this durable product helps prevent cold air leaks, maintaining optimal temperatures for your food and beverages. Crafted by Whirlpool, it guarantees a precise fit and long-lasting performance, making installation straightforward and hassle-free. Replace your worn or damaged seal to Maintain energy efficiency, reduce electricity bills, and prolong the life of your refrigerator. Maintain your appliance with this essential part and enjoy consistent cooling power for all your storage needs.
Weight : 11.61 lbs
Package Dimension : 31.42 x 20.08 x 2.56
Please Verify Your Purchase to Submit a Review
The following parts are replaced by this product
- 2177289
Replacing the 2159074 Whirlpool Door Gasket
1. Prepare the Door Gasket Replacement: Gather the necessary tools and materials, which may include a Phillips-head screwdriver, flathead screwdriver, work gloves and 2159074 Whirlpool door gasket replacement kit.
2. Access the Gasket: Unplug the refrigerator from the wall outlet and open the refrigerator door. Use a Phillips-head screwdriver to remove the screws at the corner of the trim, then gently pry up the trim to remove it from the refrigerator door.
3. Remove the Old Gasket: Use a flathead screwdriver to release the tension clips that secure the gasket to the frame of the refrigerator door. Pull the gasket away from the door frame, then reach around the frame to access and remove any remaining clips or screws.
4. Install the New Gasket: Take the new 2159074 Whirlpool door gasket out of its packaging and align it with the door frame. Push the gasket into place, making sure it fits snugly against the frame. Secure it by reattaching the tension clips or screws.
5. Reattach the Trim: Place the trim around the edge of the refrigerator door. Secure the trim with the screws you removed in step 2. Plug the refrigerator back into the wall outlet and close the door to test the new gasket.
Please keep in mind, these instructions are for general guidance and should always be used in conjunction with the manufacturer's manual, if available.


