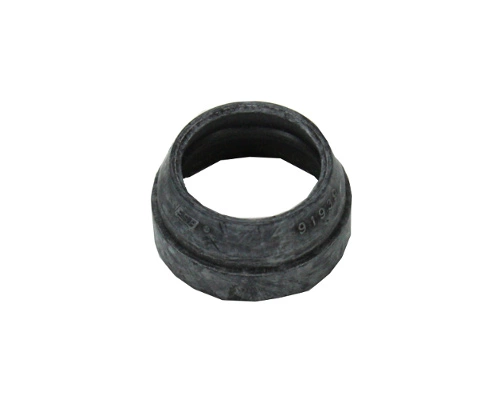
WP91939 Whirlpool Shaft Seal

Ensure optimal performance of your washing machine with this high-quality shaft seal from Whirlpool. Designed specifically for a variety of appliance brands including Admiral, Amana, Jenn-Air, Kenmore, Kitchenaid, Magic Chef, Maytag, Norge, Roper, and Whirlpool, this gasket and seal component helps prevent leaks and maintain water integrity within your appliance. Constructed with durable materials, it ensures a reliable fit and longevity, reducing the need for frequent replacements. Whether you're conducting a routine maintenance check or addressing a specific leakage issue, this part is essential for keeping your washer running efficiently. Maintain your appliance with this reliable shaft seal to Maintain its functionality and extend its lifespan.
Weight : 0.01 lbs
Package Dimension : 2.13 x 0.79 x 1.22
Product Details
Reviews
Replaces Parts
Installation Instructions
Compatible Models
Compatible Brands
Ensure optimal performance of your washing machine with this high-quality shaft seal from Whirlpool. Designed specifically for a variety of appliance brands including Admiral, Amana, Jenn-Air, Kenmore, Kitchenaid, Magic Chef, Maytag, Norge, Roper, and Whirlpool, this gasket and seal component helps prevent leaks and maintain water integrity within your appliance. Constructed with durable materials, it ensures a reliable fit and longevity, reducing the need for frequent replacements. Whether you're conducting a routine maintenance check or addressing a specific leakage issue, this part is essential for keeping your washer running efficiently. Maintain your appliance with this reliable shaft seal to Maintain its functionality and extend its lifespan.
Weight : 0.01 lbs
Package Dimension : 2.13 x 0.79 x 1.22
Please Verify Your Purchase to Submit a Review
The following parts are replaced by this product
- 91939
- LP632
- 17248
- 18918
- 99835
1. Start by gathering all the necessary tools and materials to replace the Whirlpool WP91939 SEAL-SHAFT. These include a Phillips screwdriver, a flat-head screwdriver, pliers, a putty knife, lubricant, and a new seal-shaft for the Whirlpool.
2. Locate the washer’s lid and unscrew it to gain access to the interior of the washer.
3. Use the Phillips screwdriver to unscrew the six screws that hold down the agitator.
4. Once the screws have been removed, carefully lift the agitator off the top of the washer. Be sure to have an assistant help you with this step.
5. With the agitator removed, locate the seal-shaft underneath the washer. It is usually located towards the back of the washer between the agitator and the motor.
6. Using the flat-head screwdriver or pliers, carefully lift up the old seal-shaft from the top of the washer and set it aside.
7. Apply some lubricant to the new seal-shaft and insert it into the washer, making sure that it is properly aligned.
8. Secure the seal-shaft in place using the Phillips screwdriver.
9. Finally, reattach the agitator using the six screws and the putty knife. Make sure the agitator is properly secured before putting the lid back on the washer.
10. Congratulations! You have now replaced the Whirlpool WP91939 Seal-Shaft.
Please keep in mind, these instructions are for general guidance and should always be used in conjunction with the manufacturer's manual, if available.


Login and Registration Form