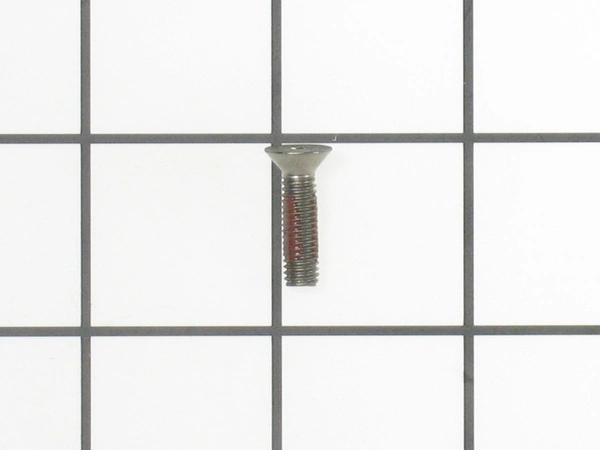
W11474472 Whirlpool Screw

Whirlpool W11474472 SCREW. We're your #1 source for genuine OEM appliance parts. Contact us for further questions as well as any other appliance parts needs!
Weight : 0.04 lbs
Package Dimension : 3.58 x 2.28 x 0.71
Product Details
Reviews
Replaces Parts
Installation Instructions
Compatible Models
Compatible Brands
Whirlpool W11474472 SCREW. We're your #1 source for genuine OEM appliance parts. Contact us for further questions as well as any other appliance parts needs!
Weight : 0.04 lbs
Package Dimension : 3.58 x 2.28 x 0.71
Please Verify Your Purchase to Submit a Review
The following parts are replaced by this product
- 489282
- WP489282
Replacing the Whirlpool W11474472 SCREW DRIVER
1. Unplug your appliance from power source and switch off water supply if necessary.
2. Remove the screws holding the screwdriver in place, using a Phillips head screwdriver.
3. Pull the screwdriver out of the appliance and inspect it for damage or excessive wear.
4. If necessary, purchase a replacement screwdriver that is compatible with your model of appliance.
5. Insert the replacement screwdriver into the appliance, carefully aligning the holes of the screwdriver with those of the appliance.
6. Secure the screwdriver in place with the screws removed in step 2.
7. Plug the appliance back into power source and switch on water supply if necessary.
8. Test the screwdriver to make sure it is functioning properly.
9. Enjoy your newly replaced screwdriver!
Please keep in mind, these instructions are for general guidance and should always be used in conjunction with the manufacturer's manual, if available.


