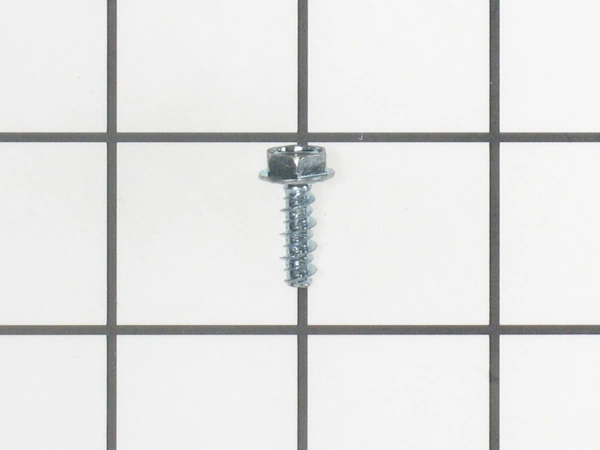
D501285 Speed Queen Screw Tap 12-16x.562 Slhxw

D501285 Speed Queen Screw Tap 12-16x.562 Slhxw
Product Details
Reviews
Replaces Parts
Installation Instructions
Compatible Models
Compatible Brands
D501285 Speed Queen Screw Tap 12-16x.562 Slhxw
Please Verify Your Purchase to Submit a Review
The following parts are replaced by this product
- 501285
- 501285
DIY Instructions on Replacing Speed Queen D501285 Screw, Tap 12-16x.562 SLHXWAH
1. Gather the required tools and parts. You will need a Phillips head screwdriver, a power drill, a ¼†high speed steel twist bit, a T-handle tap driver, and a new Speed Queen D501285 screw, tap 12-16x.562 SLHXWAH.
2. Unplug the machine and wear safety attire such as gloves, eye protection, and a dust mask.
3. Examine the existing screw, tap 12-16x.562 SLHXWAH to identify its location and how it is attached to the machine. Depending on the model, the part may be secured by screws or bolts.
4. Remove the screws securing the part in place using a Phillips head screwdriver.
5. Unthread the Speed Queen D501285 screw, tap 12-16x.562 SLHXWAH by turning it counterclockwise. This can be done by hand or with a T-handle tap driver.
6. Once the screw, tap 12-16x.562 SLHXWAH has been unthreaded, use a power drill to drill out any remaining material in the hole.
7. Insert the new Speed Queen D501285 screw, tap 12-16x.562 SLHXWAH into the hole and thread it into place with a T-handle tap driver.
8. Securely fasten the part in place with screws, or bolts if necessary.
9. Plug the machine back in and test for proper operation.
Congratulations! You have successfully replaced the Speed Queen D501285 screw, tap 12-16x.562 SLHXWAH.
Please keep in mind, these instructions are for general guidance and should always be used in conjunction with the manufacturer's manual, if available.


