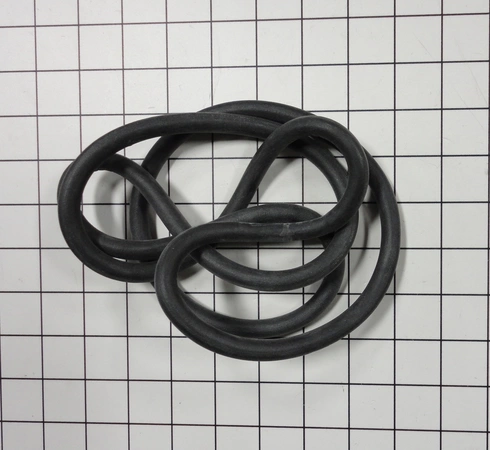
D511056 Speed Queen Washer Dryer Front Seal Panel

Front panel seal works with some Speed Queen, and Amana models of washer / dryers.
Product Details
Reviews
Replaces Parts
Installation Instructions
Compatible Models
Compatible Brands
Front panel seal works with some Speed Queen, and Amana models of washer / dryers.
Please Verify Your Purchase to Submit a Review
The following parts are replaced by this product
- 511056
- 510236
1. Unplug the Speed Queen washer / dryer from the wall outlet and shut off the water supply to the unit.
2. Carefully pull the washer/dryer away from the wall, making sure that it is unplugged and the water is off.
3. Open the door to the washer/dryer and locate the front panel seal (D511056). It will be a thin, long strip of rubber that fits around the perimeter of the front panel.
4. Using a flat head screwdriver or a putty knife, carefully pry up the existing seal from the front panel.
5. With the old seal removed, use a cloth to clean and prepare the area where the new seal will be installed.
6. Take the new D511056 Speed Queen washer / dryer front panel seal and fit it into the perimeter of the panel, taking care to ensure that it is tightly secured.
7. Plug the washer/dryer back in and reconnect the water supply.
8. Test the washer/dryer to ensure that the new front panel seal is properly secured.
Please keep in mind, these instructions are for general guidance and should always be used in conjunction with the manufacturer's manual, if available.


