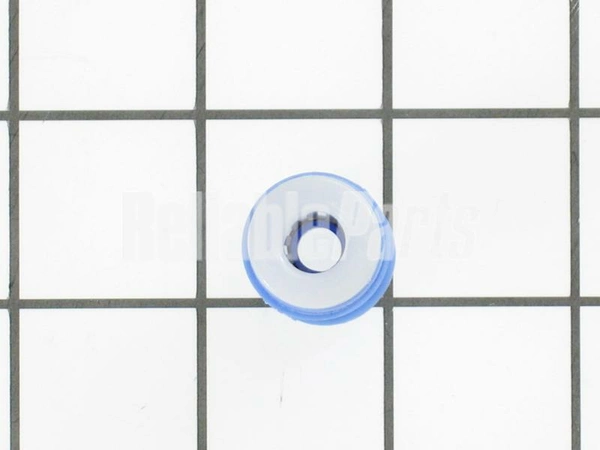
WR02X11330 GE Refrigerator 5/16 Union Water Line Connector

Maintain your refrigerator's water supply with the WR02X11330 connector, engineered for reliability and performance. This high-quality union water line connector is compatible with leading brands, including GE, Hotpoint, Haier, Monogram, and Café, ensuring a seamless fit for your appliance needs. Crafted from durable materials, this part meets stringent quality standards and facilitates steady water flow for your refrigerator's water and ice dispenser. Easy to install, the connector helps maintain optimal functionality, preventing leaks and ensuring consistent performance over time. Ideal for both DIY repairs and professional installations, Maintain your refrigerator's efficiency with this essential part. Ensure your kitchen stays refreshed and convenient, right at your fingertips.
Weight : 0.07 lbs
Package Dimension : 2.87 x 1.65 x 1.93
Product Details
Reviews
Replaces Parts
Installation Instructions
Compatible Models
Compatible Brands
Maintain your refrigerator's water supply with the WR02X11330 connector, engineered for reliability and performance. This high-quality union water line connector is compatible with leading brands, including GE, Hotpoint, Haier, Monogram, and Café, ensuring a seamless fit for your appliance needs. Crafted from durable materials, this part meets stringent quality standards and facilitates steady water flow for your refrigerator's water and ice dispenser. Easy to install, the connector helps maintain optimal functionality, preventing leaks and ensuring consistent performance over time. Ideal for both DIY repairs and professional installations, Maintain your refrigerator's efficiency with this essential part. Ensure your kitchen stays refreshed and convenient, right at your fingertips.
Weight : 0.07 lbs
Package Dimension : 2.87 x 1.65 x 1.93
Please Verify Your Purchase to Submit a Review
The following parts are replaced by this product
- WR2X8545
- SWR2X7223
- WR2X4047
- WR2X4048
- WR2X7223
- WR2X8455
- WR02X10471
- WR02X4047
- WR02X4048
- WR02X7223
- WR02X8455
- WR02X8545
Instructions for Replacing the WR02X11330 GE Union Water Line Connector
1. Before beginning, ensure that the water supply is shut off. This can be accomplished by turning off the main water valve located near your home’s water meter.
2. Locate the existing water line connector. It will have two metal nuts on each end.
3. Unscrew both metal nuts, being careful not to lose any pieces or break the plastic piping.
4. Remove the old water line connector and discard it.
5. Install the new water line connector, which should include two small rubber o-rings. Place the o-rings on the ends of the connector.
6. Secure the new water line connector in place by tightening the metal nuts. Be sure not to overtighten these nuts as this could cause damage to the plastic piping.
7. Re-connect the water supply by turning on the main water valve located near your home’s water meter.
8. Allow the water to run for a few minutes to ensure that there are no leaks in the connection.
9. After verifying that the connection is tight and leak-free, turn off the water supply at the main water valve again to complete the installation.
Please keep in mind, these instructions are for general guidance and should always be used in conjunction with the manufacturer's manual, if available.


