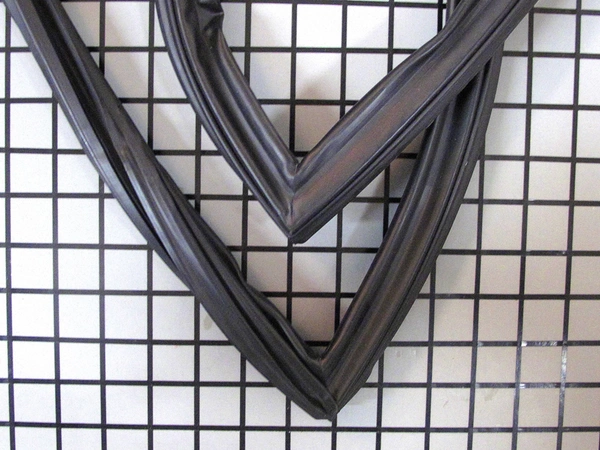
WPW10436248 Whirlpool Door Gasket

WPW10436248 Whirlpool Door Gasket
Weight : 5.87 lbs
Package Dimension : 31.44 x 11.19 x 2.32
Product Details
Reviews 2
Replaces Parts
Installation Instructions
Compatible Models
Compatible Brands
WPW10436248 Whirlpool Door Gasket
Weight : 5.87 lbs
Package Dimension : 31.44 x 11.19 x 2.32
Please Verify Your Purchase to Submit a Review
The following parts are replaced by this product
- 12683803B
- 67003553
- W10131327
- W10164035
- W10436248
Replacing the Whirlpool WPW10436248 GASKET-FIP
Instructions
1. Before you start, unplug your appliance so that you don’t risk electrical shock.
2. Place a cloth beneath the appliance and lay down a large sheet of plastic to protect your floor.
3. Locate the Whirlpool WPW10436248 GASKET-FIP on your appliance.
4. Use a screwdriver or similar tool to loosen and remove any screws that are holding the existing gasket in place.
5. Carefully remove the old gasket and set it aside.
6. Take the new Whirlpool WPW10436248 GASKET-FIP and carefully place it onto the appliance.
7. Secure the new gasket in place with the screws you removed earlier.
8. Ensure that the gasket is fitted tightly and securely.
9. Plug your appliance back in and turn it back on.
10. You’re all done! Your appliance should now be functioning as normal.
Please keep in mind, these instructions are for general guidance and should always be used in conjunction with the manufacturer's manual, if available.


