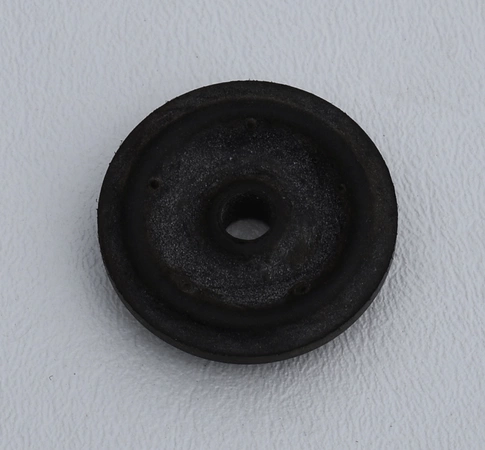
204449 Speed Queen KIT, Motor MNTS & ISOLATORS

204449 Speed Queen KIT, Motor MNTS & ISOLATORS
Weight : 0.08 lbs
Package Dimension : 3.07 x 2.17 x 1.61
Product Details
Reviews
Replaces Parts
Installation Instructions
Compatible Models
Compatible Brands
204449 Speed Queen KIT, Motor MNTS & ISOLATORS
Weight : 0.08 lbs
Package Dimension : 3.07 x 2.17 x 1.61
Please Verify Your Purchase to Submit a Review
Please note: We use this information only to confirm your purchase, it won’t be published.
The following parts are replaced by this product
- 38325
- 38395
Replacing the Speed Queen 204449 KIT, MOTOR MNTS & ISOLATORS
DIY instructions
1. Turn off the power source to the dryer and disconnect the power cord before beginning any repairs.
2. Remove the dryer cabinet by first removing the screws located at the top of the back panel.
3. Slide the cabinet off the base and set it aside.
4. Locate the mounting brackets and isolators for the Speed Queen 204449 kit.
5. The mounting brackets should be secured to the motor at the four corners.
6. Carefully remove the screws that are holding the mounting bracket in place.
7. Once the mounting brackets are removed, you will be able to access the isolator brackets.
8. Remove the screws that are holding the isolator brackets in place and replace them with the new ones included in the kit. Be sure that the isolator brackets are correctly aligned over the motor.
9. Secure the mounting brackets with the screws provided in the kit and tighten them securely.
10. Place the cabinet back onto the base, lining up the screws with the holes in the back.
11. Finally, reconnect the power cord and turn on the power source to the dryer.
You have now successfully replaced the Speed Queen 204449 KIT, MOTOR MNTS & ISOLATORS.
Please keep in mind, these instructions are for general guidance and should always be used in conjunction with the manufacturer's manual, if available.


