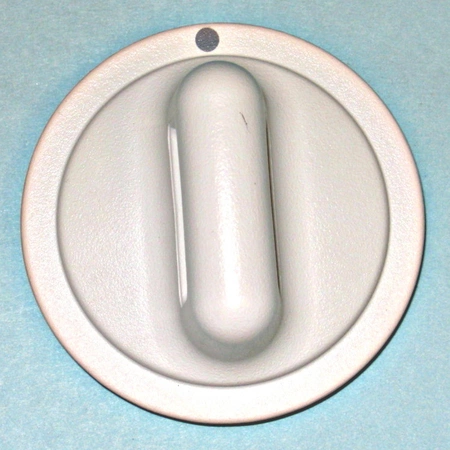
D512117W Speed Queen Timer Knob Assembly White

D512117W Speed Queen Timer Knob Assembly White
Product Details
Reviews
Replaces Parts
Installation Instructions
Compatible Models
Compatible Brands
D512117W Speed Queen Timer Knob Assembly White
Please Verify Your Purchase to Submit a Review
The following parts are replaced by this product
- 504002
- 510287W
- 504002
- 512117W
1. Unplug the washing machine from the outlet before beginning any repair.
2. Locate the damaged timer knob on the unit. It is located at the top center of the washing machine.
3. Remove the timer knob by pulling it away from the unit.
4. Once the knob has been removed, lift off the outer white cap and unscrew the mounting screw underneath it.
5. Remove the broken timer knob from the shaft of the washing machine.
6. Take the replacement timer knob and insert it onto the shaft of the washing machine.
7. Secure the knob in place by tightening the mounting screw underneath the white cap.
8. Put the white cap back onto the timer knob.
9. Test the new timer knob by setting different cycles and ensuring that the washing machine responds properly.
10. Plug the washing machine back into the wall outlet.
Please keep in mind, these instructions are for general guidance and should always be used in conjunction with the manufacturer's manual, if available.


