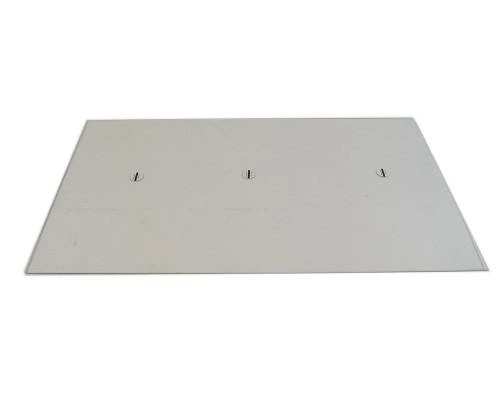
W11033333 Whirlpool Glass Shelf

Maintain your refrigerator's interior with this high-quality glass shelf designed specifically for various Whirlpool appliances and compatible brands including Admiral, Amana, Jenn-Air, Kenmore, Kitchenaid, Magic Chef, Maytag, Norge, and Roper. This durable shelf provides an efficient and organized storage solution, allowing you to maximize space and keep food items visible and accessible. Crafted with precision, it ensures easy installation and a perfect fit in your refrigerator model. Whether you’re replacing a broken shelf or enhancing your appliance’s functionality, this part is a reliable choice for maintaining optimal performance. Ensure your refrigerator remains stylish and practical with this essential component.
Weight : 6.08 lbs
Package Dimension : 35.25 x 27.25 x 0.88
Product Details
Reviews
Replaces Parts
Installation Instructions
Compatible Models
Compatible Brands
Maintain your refrigerator's interior with this high-quality glass shelf designed specifically for various Whirlpool appliances and compatible brands including Admiral, Amana, Jenn-Air, Kenmore, Kitchenaid, Magic Chef, Maytag, Norge, and Roper. This durable shelf provides an efficient and organized storage solution, allowing you to maximize space and keep food items visible and accessible. Crafted with precision, it ensures easy installation and a perfect fit in your refrigerator model. Whether you’re replacing a broken shelf or enhancing your appliance’s functionality, this part is a reliable choice for maintaining optimal performance. Ensure your refrigerator remains stylish and practical with this essential component.
Weight : 6.08 lbs
Package Dimension : 35.25 x 27.25 x 0.88
Please Verify Your Purchase to Submit a Review
Please note: We use this information only to confirm your purchase, it won’t be published.
The following parts are replaced by this product
- 12204830
- WP12204830
Step 1: Safety First: Always unplug your refrigerator before starting any repair.
Step 2: Take off the Door: To remove the Whirlpool W11033333 shelf-glas, you need to first take off the door that is housing it. Locate the screws at the top of the door and at the bottom. Unscrew the hinge pins and set the door aside carefully.
Step 3: Remove the Existing Shelf-glas: Once the door is removed, locate the two screws that are holding the shelf-glas in place. Unscrew these and lift the shelf-glas from the fridge.
Step 4: Prepare the New Shelf-glas: Place the new shelf-glas inside the fridge and make sure that it fits properly.
Step 5: Secure the New Shelf-glas: Make sure that the new shelf-glas is secure by screwing it in place using the screws from earlier.
Step 6: Put the Door Back On: Place the door back on and make sure that it fits properly. Secure it in place by screwing the hinge pins back in.
Step 7: Test the Shelf-glas: Test the new shelf-glas by moving it around and making sure that it is secure and functioning properly.
Step 8: Plug the Refrigerator Back In: If everything fits and functions properly, the last step is plugging the refrigerator back in.
Please keep in mind, these instructions are for general guidance and should always be used in conjunction with the manufacturer's manual, if available.


