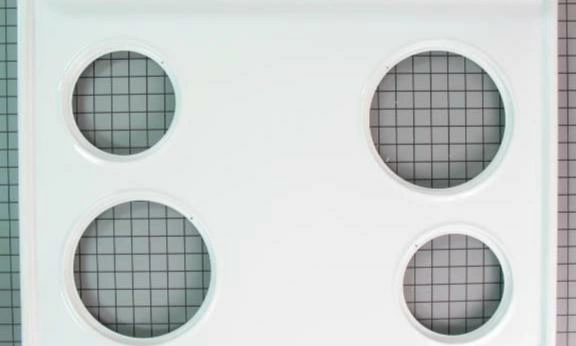
316202388 Frigidaire Range Maintop

Maintain your kitchen seamlessly with this high-quality cooktop, designed for durability and performance. This reliable component is an essential part of your cooking appliance, ensuring even heating and optimal functionality. Crafted by Electrolux, it is compatible with a variety of trusted brands, including Crosley, Frigidaire, Gibson, Kelvinator, Kenmore, Tappan, and Westinghouse. Its sleek glass top not only enhances the aesthetic of your oven but also simplifies cleaning, allowing you to maintain a pristine cooking environment. Ideal for replacement or upgrades, this part ensures your oven operates at peak efficiency. Elevate your culinary experience and enjoy consistently great results with this dependable oven maintop.
Product Details
Reviews
Replaces Parts
Installation Instructions
Compatible Models
Compatible Brands
Maintain your kitchen seamlessly with this high-quality cooktop, designed for durability and performance. This reliable component is an essential part of your cooking appliance, ensuring even heating and optimal functionality. Crafted by Electrolux, it is compatible with a variety of trusted brands, including Crosley, Frigidaire, Gibson, Kelvinator, Kenmore, Tappan, and Westinghouse. Its sleek glass top not only enhances the aesthetic of your oven but also simplifies cleaning, allowing you to maintain a pristine cooking environment. Ideal for replacement or upgrades, this part ensures your oven operates at peak efficiency. Elevate your culinary experience and enjoy consistently great results with this dependable oven maintop.
Please Verify Your Purchase to Submit a Review
The following parts are replaced by this product
- 316020907
- 5303288820
- 316202307
- 316202363
Step 1: Disconnect the power source for the appliance before attempting any repairs.
Step 2: Remove the screws that secure the top of the oven to the base.
Step 3: Carefully lift up the top and take it off from the base.
Step 4: Place the new MAIN TOP (OS1) in place, making sure to align the screw holes with the ones from the old top.
Step 5: Secure the top to the bottom with the removed screws.
Step 6: Reconnect the power source for the appliance once the new MAIN TOP (OS1) has been installed.
Step 7: Test the range to make sure it is functioning properly.
Please keep in mind, these instructions are for general guidance and should always be used in conjunction with the manufacturer's manual, if available.


