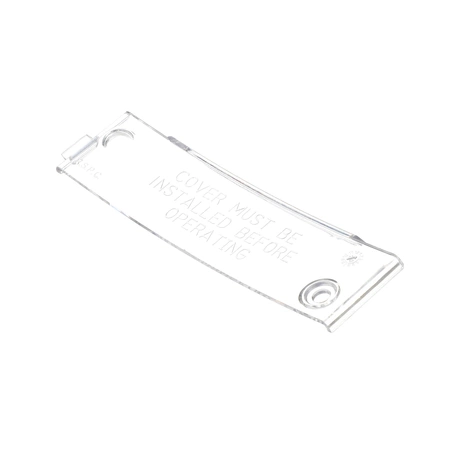
D512106 Speed Queen Cylinder Light Lens

D512106 Speed Queen Cylinder Light Lens
Product Details
Reviews
Replaces Parts
Installation Instructions
Compatible Models
Compatible Brands
D512106 Speed Queen Cylinder Light Lens
Please Verify Your Purchase to Submit a Review
Please note: We use this information only to confirm your purchase, it won’t be published.
The following parts are replaced by this product
- 512106
1. Firstly, turn off the power source to the Speed Queen D512106 washing machine. Make sure that the power and water sources have been disconnected to prevent any accidents during the replacement process.
2. Unscrew the panel covering the Speed Queen washer’s lens cylinder light using an appropriate flathead screwdriver. Set aside the panel and screws.
3. Carefully take out the old lens cylinder light and detach the wires connected to it. Make sure to maintain a secure grip on the lens light as the bulbs are fragile and may break easily. Label the wires before removing them for easier reconnection.
4. Insert the new lens cylinder light into the slot, making sure that it is securely seated.
5. Reconnect the wires per their labels by twisting each of them in clockwise direction. Once all the wires are securely attached, gently tug at the wires to ensure that they are secured.
6. Place the panel back and secure it with the screws. Make sure to use the right size and type of screws to avoid damaging the newly replaced lens light.
7. Test the new lens cylinder light by turning on the power source and checking if it illuminates properly.
8. Screw the panel back onto the Speed Queen D512106 machine. Make sure that the panel is properly secured, as leaving it loose may cause damage to the lens cylinder light.
9. Finally, turn on the water source and the power source for the Speed Queen D512106 machine to test if the replacement was successful. Enjoy your newly replaced Speed Queen lens light!
Please keep in mind, these instructions are for general guidance and should always be used in conjunction with the manufacturer's manual, if available.


