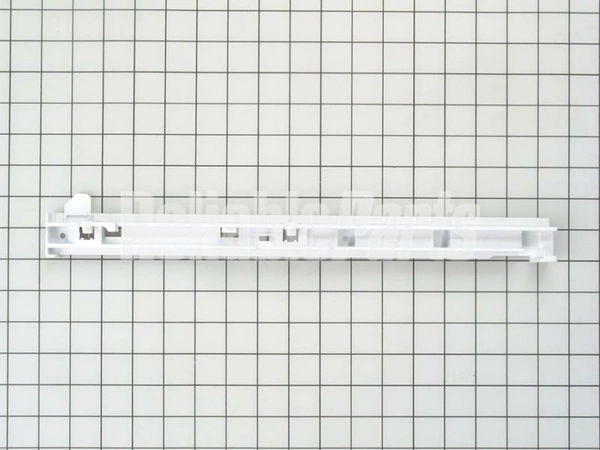
WR72X240 GE Slide Assembly Right Hand

Elevate your refrigerator’s performance with this right-hand slide assembly from GE. Designed specifically for your GE appliances, this durable part ensures smooth operation and effortless access to your refrigerator drawers. It is compatible with a variety of brands, including Hotpoint, Haier, Monogram, and Café, making it a versatile choice for various models.
Crafted with precision, this assembly is essential for maintaining the integrity and functionality of your refrigerator. Whether you are replacing a worn-out slide or upgrading to Maintain your appliance’s efficiency, this part provides reliable support for your refrigerator drawers. Easy to install, it helps you restore order to your refrigeration space with minimal effort. Invest in the longevity and performance of your appliance with this high-quality replacement part.
Weight : 2.04 lbs
Package Dimension : 16.34 x 6.50 x 2.68
Product Details
Reviews
Replaces Parts
Installation Instructions
Compatible Models
Compatible Brands
Elevate your refrigerator’s performance with this right-hand slide assembly from GE. Designed specifically for your GE appliances, this durable part ensures smooth operation and effortless access to your refrigerator drawers. It is compatible with a variety of brands, including Hotpoint, Haier, Monogram, and Café, making it a versatile choice for various models.
Crafted with precision, this assembly is essential for maintaining the integrity and functionality of your refrigerator. Whether you are replacing a worn-out slide or upgrading to Maintain your appliance’s efficiency, this part provides reliable support for your refrigerator drawers. Easy to install, it helps you restore order to your refrigeration space with minimal effort. Invest in the longevity and performance of your appliance with this high-quality replacement part.
Weight : 2.04 lbs
Package Dimension : 16.34 x 6.50 x 2.68
Please Verify Your Purchase to Submit a Review
The following parts are replaced by this product
- WR1X2049
- WR01X2049
- WR72X0240
Step 1: Empty and Remove the Drawer
Remove the contents from the fridge and then the drawer itself. The crisper drawer slide rail is located on the right side of the drawer, so you'll want to pull the drawer all the way out before attempting to replace it.
Step 2: Remove the Slide Rail
The slide rail has two screws which must be removed in order to access it. Unscrew the screws with a Phillips head screwdriver.
Step 3: Attach the New Slide Rail
Take the new slide rail and line it up with the old one. Secure it in place with the two screws you removed earlier.
Step 4: Re-attach the Drawer
Place the drawer back into the fridge and push it back into place. Make sure the drawer is firmly in place and that the slide rail is securely attached.
Step 5: Test the Drawer
Test the drawer by opening and closing it several times to ensure that it's working properly. If all looks good, you've successfully replaced your GE Right-Hand Crisper Drawer Slide Rail.
Please keep in mind, these instructions are for general guidance and should always be used in conjunction with the manufacturer's manual, if available.


