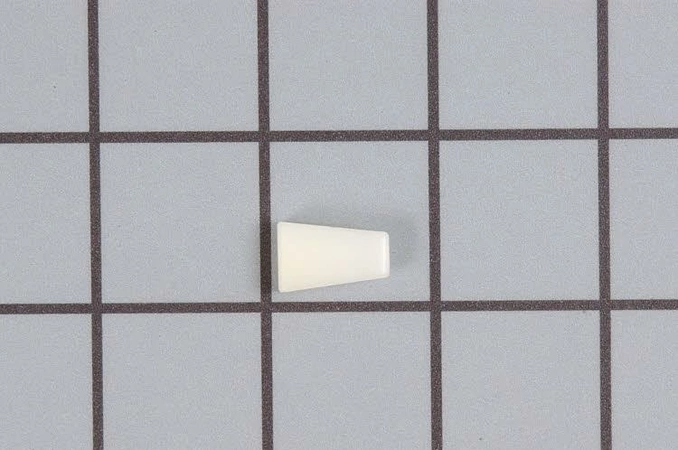
WR1X2048 GE Refrigerator Slide Bearing

WR1X2048 is an original equipment manufactured (OEM) part. Maintain the efficiency of your refrigerator with this high-quality slide bearing from GE. Designed for optimal performance, this bearing ensures smooth and reliable operation of your refrigerator's sliding components. Compatible with major brands including Hotpoint, Haier, Monogram, and Café, it is an ideal replacement part for various refrigerator models. The durable construction promises longevity and dependable function, making it a smart choice for maintenance and repairs. Whether you’re a DIY enthusiast or a professional technician, this component simplifies the repair process, ensuring your refrigerator operates at its best. Enhance your appliance's performance today with this essential part, specifically engineered for select refrigerator types.
Weight : 0.05 lbs
Package Dimension : 6.00 x 6.00 x 0.20
Product Details
Reviews
Replaces Parts
Installation Instructions
Compatible Models
Compatible Brands
WR1X2048 is an original equipment manufactured (OEM) part. Maintain the efficiency of your refrigerator with this high-quality slide bearing from GE. Designed for optimal performance, this bearing ensures smooth and reliable operation of your refrigerator's sliding components. Compatible with major brands including Hotpoint, Haier, Monogram, and Café, it is an ideal replacement part for various refrigerator models. The durable construction promises longevity and dependable function, making it a smart choice for maintenance and repairs. Whether you’re a DIY enthusiast or a professional technician, this component simplifies the repair process, ensuring your refrigerator operates at its best. Enhance your appliance's performance today with this essential part, specifically engineered for select refrigerator types.
Weight : 0.05 lbs
Package Dimension : 6.00 x 6.00 x 0.20
Please Verify Your Purchase to Submit a Review
The following parts are replaced by this product
- WR01X2048
DIY Refrigerator Slide Bearing Replacement for WR1X2048 GE Refrigerator
Are you having trouble with your fridge sliding? Is it squeaky or noisy? If so, it is likely time to replace the slide bearing on your WR1X2048 GE Refrigerator. Replacing the slide bearing is a simple do-it-yourself project that only requires basic tools and a few minutes of your time. Follow these easy steps to replace your slide bearing quickly and easily.
Tools Needed:
-Phillips-head screwdriver
-Flathead screwdriver
Step 1: Unplug the power cord from the wall before beginning your repair.
Step 2: Locate the slide bearing at the top corner of the fridge's interior. It looks like a small plastic wheel that slides along the interior surface of the fridge.
Step 3: Use a Phillips-head screwdriver to remove the screws holding the slide bearing in place.
Step 4: Carefully remove the slide bearing from the fridge and set it aside.
Step 5: Take your new slide bearing and align it with the holes where the old bearing was.
Step 6: Secure the new slide bearing in place with the same screws you removed from the previous bearing.
Step 7: Plug the power cord back in, and you are done!
Replacing the slide bearing on your WR1X2048 GE Refrigerator is a simple task that can be completed quickly with the right tools and instructions. By following the steps above, you can replace your slide bearing in no time and get your fridge back to operating at its top performance levels.
Please keep in mind, these instructions are for general guidance and should always be used in conjunction with the manufacturer's manual, if available.


