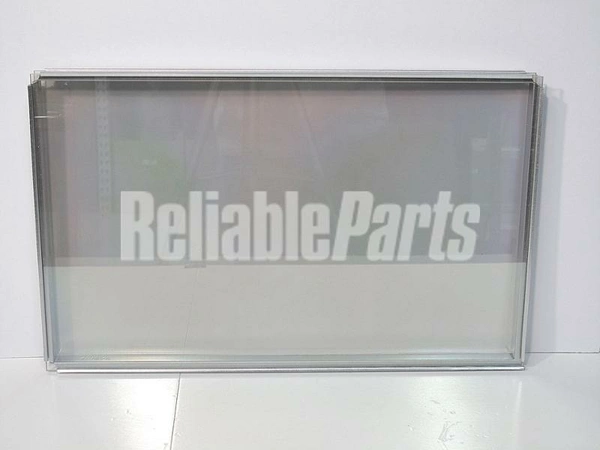
WB56T10105 GE Oven Inner Window Assembly

WB56T10105 is an original equipment manufactured (OEM) part. Maintain your oven's functionality with this high-quality inner window assembly designed specifically for select GE, Hotpoint, Haier, Monogram, and Café models. Crafted to ensure a perfect fit, this replacement part will restore your oven’s appearance and efficiency, allowing you to monitor cooking progress without heat loss. Durable construction guarantees long-lasting performance, making it an essential addition for anyone looking to maintain their appliance in peak condition. Easy to install, this assembly is ideal for DIY enthusiasts and professional technicians alike. Ensure the longevity of your oven while enhancing its usability with this reliable door component. Perfect for those who value both performance and aesthetics in their kitchen appliances.
Weight : 9.86 lbs
Package Dimension : 26.50 x 23.50 x 2.20
Product Details
Reviews
Replaces Parts
Installation Instructions
Compatible Models
Compatible Brands
WB56T10105 is an original equipment manufactured (OEM) part. Maintain your oven's functionality with this high-quality inner window assembly designed specifically for select GE, Hotpoint, Haier, Monogram, and Café models. Crafted to ensure a perfect fit, this replacement part will restore your oven’s appearance and efficiency, allowing you to monitor cooking progress without heat loss. Durable construction guarantees long-lasting performance, making it an essential addition for anyone looking to maintain their appliance in peak condition. Easy to install, this assembly is ideal for DIY enthusiasts and professional technicians alike. Ensure the longevity of your oven while enhancing its usability with this reliable door component. Perfect for those who value both performance and aesthetics in their kitchen appliances.
Weight : 9.86 lbs
Package Dimension : 26.50 x 23.50 x 2.20
Please Verify Your Purchase to Submit a Review
The following parts are replaced by this product
- WB56T10152
- WB55T10160
- WB55T10191
Replacing the GE WB56T10105 Window Assembly
DIY Instructions
1. Shut off the power to the window unit before attempting to remove the existing window assembly.
To do this, locate the circuit breaker that powers the window and switch it to the off setting.
2. Remove the existing window assembly by unscrewing the screws that hold it in place.
Carefully remove the window assembly from the opening and set it aside.
3. Install the new GE WB56T10105 window assembly into the opening.
Carefully place the window assembly into the opening and begin to screw it into place.
Use caution when screwing the screws into place so as not to cause any damage to the window frame.
4. Secure the window assembly in place with screws.
Using a Phillips head screwdriver, secure the window assembly in place with the screws that came with it.
5. Test the window assembly to make sure it is properly secured within the window opening.
Close the window and ensure there are no gaps or drafts around the window frame.
6. Turn the power back on to the window unit.
Once you are sure all of the screws are in place and the window is firmly secured, switch the circuit breaker back on.
7. Enjoy your newly replaced GE WB56T10105 window assembly!
Now that you have successfully replaced your GE window assembly, you can enjoy the improved look and efficiency of your window unit.
Please keep in mind, these instructions are for general guidance and should always be used in conjunction with the manufacturer's manual, if available.


