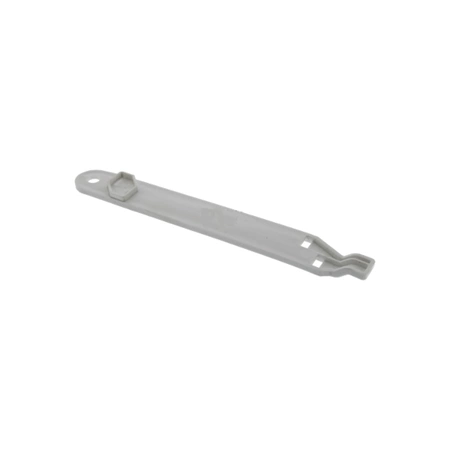
D513738 Speed Queen Moisture Sensor Base

Moisture sensor base works with some Speed Queen, and Amana models of clothes dryers.
Product Details
Reviews
Replaces Parts
Installation Instructions
Compatible Models
Compatible Brands
Moisture sensor base works with some Speed Queen, and Amana models of clothes dryers.
Please Verify Your Purchase to Submit a Review
Please note: We use this information only to confirm your purchase, it won’t be published.
The following parts are replaced by this product
- 513738
DIY Guide to Replacing a Speed Queen Dryer Moisture Sensor Base (D513738)
Have you noticed that your Speed Queen dryer has either been taking too long or not fully drying your clothes? This may indicate that the moisture sensor base (D513138) is not working and needs replacing. The following steps provide a quick and easy DIY guide for replacing the D513738 Speed Queen Dryer Moisture Sensor Base.
Tools Needed:
•flat head screwdriver
•Phillips head screwdriver
•pliers or adjustable wrench
•replacement D513738 Speed Queen Dryer Moisture Sensor Base
Step 1: Unplug the dryer from the wall outlet.
Step 2: Remove the back panel of the dryer. Carefully unscrew the screws holding back panel in place using a Phillips head screwdriver.
Step 3: Locate the moisture sensor base towards the middle of the dryer.
Step 4: Disengage the electrical connections where the moisture sensor base is connected to the internal wiring harness. Use a flat-head screwdriver to carefully disconnect the connections.
Step 5: Disconnect the screws that hold the moisture sensor base in place. It may be necessary to use a pair of pliers or adjustable wrench to loosen these screws.
Step 6: Unscrew and carefully remove the moisture sensor base.
Step 7: Connect the replacement moisture sensor base by first screwing it in place, then re-connecting the electrical connections. Make sure to securely tighten all of the screws before moving on to the next step.
Step 8: Replace the back panel and securely fasten with screws.
Step 9: Reconnect the power cord and plug the dryer back into the wall outlet.
Once completed, you should have successfully replaced the D513738 Speed Queen dryer moisture sensor base. This should resolve the issue of your dryer not properly drying your clothes.
Please keep in mind, these instructions are for general guidance and should always be used in conjunction with the manufacturer's manual, if available.


