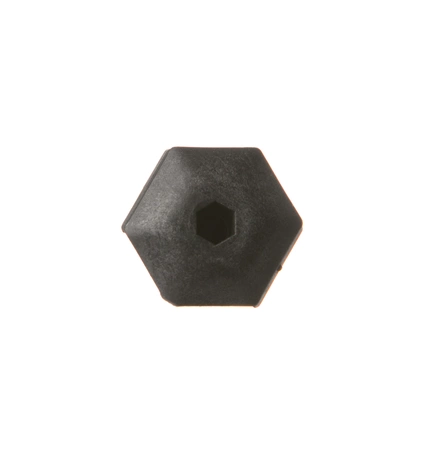
WB02X10521 GE Oven Leveling Leg

Maintain the stability of your oven with the leveling leg designed for GE and compatible brands, including Hotpoint, Haier, Monogram, and Café. This durable component, identified by SKU WB02X10521, ensures your appliance remains perfectly aligned, preventing any unwanted tilting or movement during use. Constructed with quality materials, this leg is built to withstand the rigors of daily cooking, ensuring long-lasting performance. Whether you're replacing a worn-out part or upgrading your oven setup, this leveling leg is essential for maintaining optimal functionality and safety in your kitchen. Simple to install, it allows you to achieve the perfect level for your cooking appliance quickly and efficiently. Keep your culinary experiences worry-free with this reliable oven accessory.
Weight : 0.10 lbs
Package Dimension : 6.00 x 6.00 x 0.40
Please Verify Your Purchase to Submit a Review
Step 1: Make sure you have the correct replacement part, the GE WB02X10521 Foot Leveling.
Step 2: Carefully remove the old foot leveling from the refrigerator by unscrewing or disconnecting any screws holding it in place. Disconnect any wires attached to the unit.
Step 3: Double check that all parts and screws have been removed before you begin to install the new foot leveling.
Step 4: Place the new foot leveling into the same position as the old unit, making sure all components are lined up correctly.
Step 5: Secure the new foot leveling with any screws or wires that were connected to the previous unit.
Step 6: Plug the refrigerator back in and make sure the foot leveling is functioning properly.
Step 7: Finally, double check all connections and give the refrigerator a final inspection to make sure the foot leveling is properly installed.
Please keep in mind, these instructions are for general guidance and should always be used in conjunction with the manufacturer's manual, if available.


