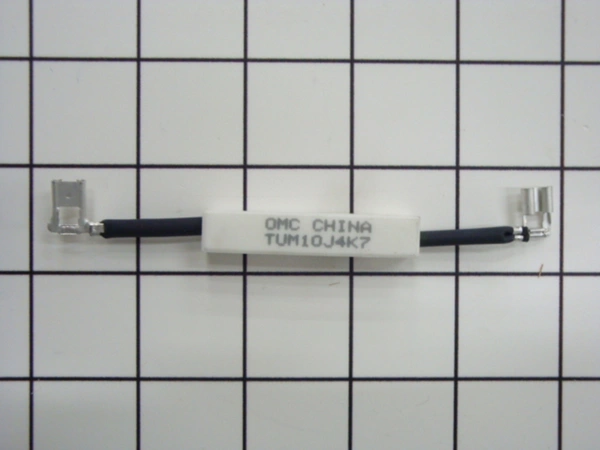
D511277 Speed Queen Washer Dryer Resistor Assembly

Resistor assembly works with some Speed Queen, and Amana models of washer/dryers.
Weight : 0.09 lbs
Package Dimension : 4.88 x 2.24 x 1.10
Product Details
Reviews
Replaces Parts
Installation Instructions
Compatible Models
Compatible Brands
Resistor assembly works with some Speed Queen, and Amana models of washer/dryers.
Weight : 0.09 lbs
Package Dimension : 4.88 x 2.24 x 1.10
Please Verify Your Purchase to Submit a Review
The following parts are replaced by this product
- 511277
1. Start by unplugging the D511277 Speed Queen Washer/Dryer from its power source and disconnecting any water supply lines.
2. Place a tarp on the floor beneath the washer/dryer to protect the area from debris.
3. Remove the back panel of the washer/dryer with a screwdriver to gain access to the resistor assembly, which is located near the motor.
4. Use a wrench or pliers to loosen the nut that holds the resistor in place.
5. Carefully pull out the resistor assembly, taking care to avoid damaging any of the wires.
6. Replace the resistor assembly with a new one.
7. Secure the resistor assembly in place using the wrench or pliers to tighten the nut.
8. Reconnect any water supply lines, plug the washer/dryer back into its power source, and replace the back panel.
9. Test the washer/dryer and ensure that the resistor assembly has been properly replaced.
Please keep in mind, these instructions are for general guidance and should always be used in conjunction with the manufacturer's manual, if available.


