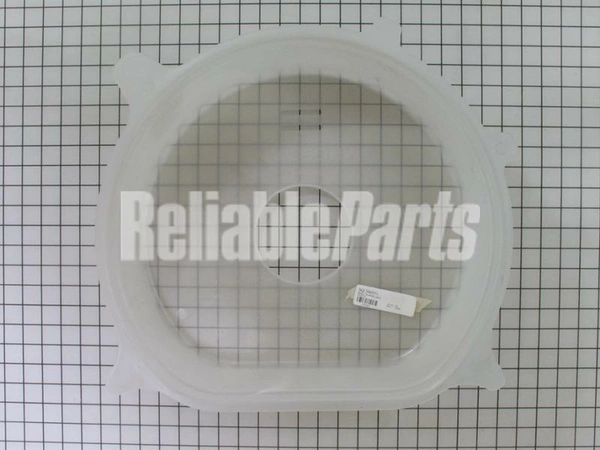
200553 Speed Queen Washer Home Brace

200553 Speed Queen Washer Home Brace
200553 Speed Queen Washer Home Brace
Please Verify Your Purchase to Submit a Review
Please note: We use this information only to confirm your purchase, it won’t be published.
DIY Replacing the Speed Queen 200553 BRACE,SHIPPING-HOME UNIT
Replacing a Speed Queen 200553 BRACE, SHIPPING-HOME UNIT can be a challenging task. However, with the right tools and safety precautions, it is possible to do this yourself. Here are the steps to help you get started:
1. Make sure you have all the necessary tools. You will need a Phillips head screwdriver, a flathead screwdriver, needle-nose pliers, and a pair of snips.
2. Unplug the power cord from the wall outlet. To ensure your safety, make sure that no power is running to the Speed Queen before you begin.
3. Remove the front panel and hardware that attaches the brace to the machine.
4. Unscrew and remove the existing brace. Be sure to keep any screws or hardware that you remove in a safe place for future use.
5. Using your snips, cut the new Speed Queen 200553 BRACE, SHIPPING-HOME UNIT to size. Then attach it to the machine using the screws and hardware that you removed from the existing brace.
6. Finally, plug the power cord back in and test the machine.
By following these steps, you can successfully replace the Speed Queen 200553 BRACE, SHIPPING-HOME UNIT yourself. Always remember to use caution when working with any electrical components, and if you have any doubts or questions, consult a professional repairman.
Please keep in mind, these instructions are for general guidance and should always be used in conjunction with the manufacturer's manual, if available.


