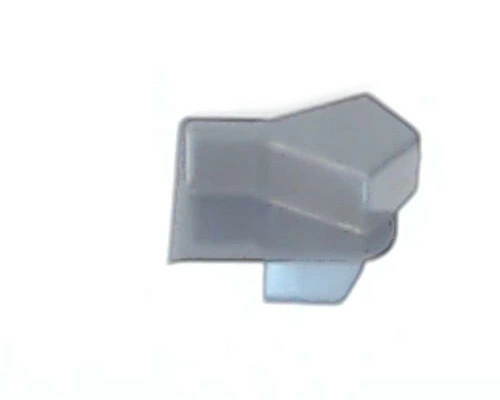
WD13X10071 GE Dishwasher Door Strike

Elevate the performance of your dishwasher with this essential door strike, designed for a perfect fit in various GE models, including Hotpoint, Haier, Monogram, and Café. This durable latch serves as a catch and lock mechanism, ensuring that your dishwasher door secures tightly during operation, ultimately preventing any leaks and ensuring optimal cleaning efficiency.
Crafted specifically for compatibility with a wide range of GE appliances, this part is a reliable choice for both professional technicians and DIY enthusiasts. Maintain your dishwasher’s functionality with this easy-to-install component, restoring its performance and enhancing your kitchen experience. Rely on this high-quality latch for trouble-free operation and peace of mind.
Weight : 0.26 lbs
Package Dimension : 6.00 x 6.00 x 1.00
Please Verify Your Purchase to Submit a Review
Replacing your GE WD13X10071 Striker Latch
1. Unscrew the screws that hold the latch plate to the unit's frame and remove it from the frame.
2. Disconnect the wires from the old latch.
3. Place the new striker latch in position, ensuring the holes line up with the screw holes on the frame.
4. Securely tighten the screws to the latch plate.
5. Reconnect the wires to the new latch.
6. Test the latch by closing and opening the unit to ensure it works properly.
Please keep in mind, these instructions are for general guidance and should always be used in conjunction with the manufacturer's manual, if available.


