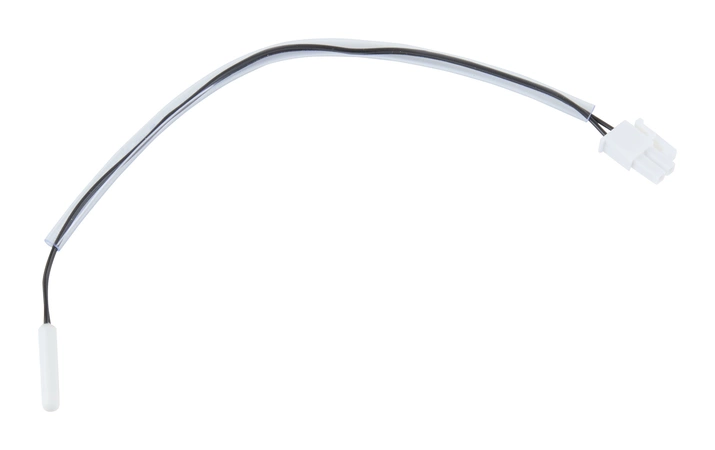
W11438736 Whirlpool Thermistor

Whirlpool W11438736 THERMISTOR We're your #1 source for genuine OEM appliance parts. Contact us for further questions as well as any other appliance parts needs!
Weight : 0.18 lbs
Package Dimension : 9.17 x 1.77 x 1.54
Product Details
Reviews
Replaces Parts
Installation Instructions
Compatible Models
Compatible Brands
Whirlpool W11438736 THERMISTOR We're your #1 source for genuine OEM appliance parts. Contact us for further questions as well as any other appliance parts needs!
Weight : 0.18 lbs
Package Dimension : 9.17 x 1.77 x 1.54
Please Verify Your Purchase to Submit a Review
The following parts are replaced by this product
- W10556397
- W10838965
- W11108173
Replacing the Whirlpool W11438736 THERMISTOR
1. Unplug the appliance from the power source to ensure your safety while completing this repair.
2. Open the access panel located at the back of your appliance using a Phillips screwdriver. You may need to remove screws and/or hinges to be able to access the circuit board(s).
3. Detach the old thermostat by disconnecting the 2 wires coming from the thermostat to the circuit board and then unscrewing the mounting screws that hold it in place.
4. Take note the orientation of the terminals (labeled T1, T2 and T3) on the old thermistor as you will need to install the new one the same way.
5. Attach the new thermistor in the same orientation as the original one, making sure to connect the wires from the thermostat to the circuit board terminals.
6. Secure the new thermostat with the screws you removed earlier.
7. Reassemble any screws or panels you had to disassemble in order to access the circuit board.
8. Plug in the appliance and test it to make sure the repair has been successful.
Please keep in mind, these instructions are for general guidance and should always be used in conjunction with the manufacturer's manual, if available.


