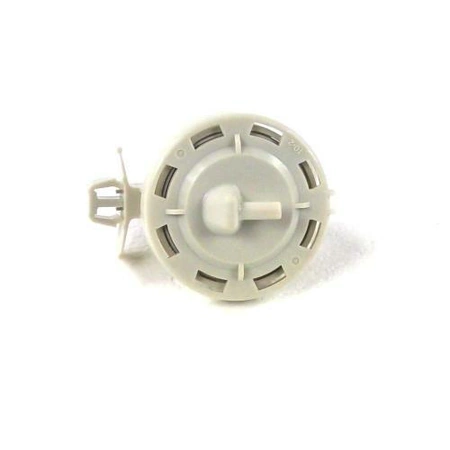
EBF63534901 LG Washer Pressure Switch Assembly

Maintain your LG washer’s performance with this high-quality pressure switch assembly. Designed specifically for LG laundry appliances, this essential part ensures your washer operates efficiently by regulating water levels during various cycles. Replace your worn or malfunctioning switch to restore the optimal functioning of your washing machine, eliminating issues such as overfilling or insufficient water intake.
Crafted by LG Electronics, you can trust in the durability and precision of this replacement switch. The EBF63534901 model guarantees compatibility with a range of LG washers, making it a reliable choice for your appliance repairs. Whether you’re a DIY enthusiast or a professional technician, installing this part is straightforward and will help extend the lifespan of your washer. Keep your laundry routine running smoothly with this dependable pressure switch assembly.
Weight : 0.16 lbs
Package Dimension : 4.96 x 1.97 x 2.28
Please Verify Your Purchase to Submit a Review
DIY Instruction on Replacing the EBF63534901 LG Washer Pressure Switch Assembly
1. Unplug the washer and turn off the water supply to the washer.
2. Remove the pressure switch by disconnecting the two wires from the old switch. This can be done by loosening the screws that secure the wires at the top of the switch.
3. Place the new pressure switch in the same spot and reconnect the wires to the new switch in the same way they were connected to the old one.
4. Make sure the switch is securely held in place with the screws and then plug the washer back in.
5. Turn on the water supply and let the water run for a minute or so to ensure that it’s connected properly. If the water flows normally, everything is working properly.
6. If you have an ohmmeter, check the switch to make sure it’s connected properly. The continuity should be within the manufacturer's specifications.
7. Turn the washer on and allow it to complete a cycle. If it works correctly, the installation of the new pressure switch is finished.
Please keep in mind, these instructions are for general guidance and should always be used in conjunction with the manufacturer's manual, if available.


