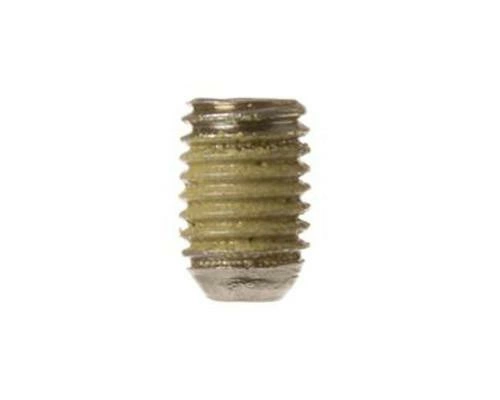
WR01X20424 GE Refrigerator Screw

The GE WR01X20424 SET SCREW We're your #1 source for genuine OEM appliance parts. Contact us for further questions as well as any other appliance parts needs!
Weight : 0.01 lbs
Package Dimension : 1.34 x 1.14 x 0.71
Product Details
Reviews
Replaces Parts
Installation Instructions
Compatible Models
Compatible Brands
The GE WR01X20424 SET SCREW We're your #1 source for genuine OEM appliance parts. Contact us for further questions as well as any other appliance parts needs!
Weight : 0.01 lbs
Package Dimension : 1.34 x 1.14 x 0.71
Please Verify Your Purchase to Submit a Review
The following parts are replaced by this product
- WR02X31794
Replacing the GE WR01X20424 Set Screw
1) Start by preparing the area where you will be working. Gather any necessary tools and components, then switch off the power to the device. Unplug the device wire or turn off the circuit breaker to the device.
2) Remove the screws holding the back plate of the device in place. Lift out the back plate, then take out the old set screw.
3) Insert the new set screw. Make sure that it is properly aligned and securely fastened.
4) Place the back plate back into the device, then secure it with the original screws.
5) Switch the power back on to the device. Plug in the device wires or turn on the circuit breaker. Test the device to make sure that it is working correctly.
6) Finally, if you notice any problems after the repair is finished, consider calling a professional technician for help.
Please keep in mind, these instructions are for general guidance and should always be used in conjunction with the manufacturer's manual, if available.


