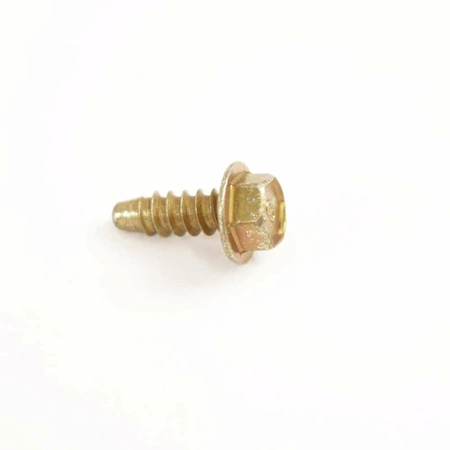
WD02X10160 GE Screw

Ensure your dishwasher operates at peak performance with this essential fastener from GE. Designed specifically for a variety of brands including Hotpoint, Haier, Monogram, and Café, this reliable component is ideal for maintaining the integrity of your appliance. Its durable construction guarantees long-lasting use, making it a perfect replacement for worn or damaged screws.
Whether you're a seasoned DIYer or tackling repairs for the first time, this fastener simplifies the process, ensuring your dishwasher remains in top condition. Maintain the efficiency and lifespan of your appliance with this crucial part. Maintain your dishwasher repair toolbox today with this quality fastener, and experience the difference in functionality and reliability.
Weight : 0.02 lbs
Package Dimension : 3.50 x 2.20 x 0.30
Please Verify Your Purchase to Submit a Review
Please note: We use this information only to confirm your purchase, it won’t be published.
Step 1: Turn off the power to the dishwasher. Unplug the power cord from the wall outlet, or switch off the breaker at the main service panel.
Step 2: Open the dishwasher door and remove any dishes or items in the dishwasher.
Step 3: Locate the old WD02X10160 SCR 8-18 B HXW .480 S part, which will be near the bottom of the dishwasher.
Step 4: Disconnect the wires connected to the old part. Do this carefully and make sure to remember the order and configuration in which the wires were connected.
Step 5: Remove the mounting screws that hold the old part in place. These will likely be either Phillips or flathead screws.
Step 6: Insert the new GE WD02X10160 SCR 8-18 B HXW .480 S part into the space vacated by the old part. Make sure it is firmly in place.
Step 7: Reconnect the wires to the new part. Make sure to match the order and configuration of the wires as they were connected to the old part.
Step 8: Secure the new part in place with the mounting screws. Make sure these are lined up properly and tightened securely.
Step 9: Close the dishwasher door and plug the power cord back into the wall outlet, or switch the breaker at the main service panel back on.
Step 10: Test the dishwasher to make sure everything is working properly.
Please keep in mind, these instructions are for general guidance and should always be used in conjunction with the manufacturer's manual, if available.


