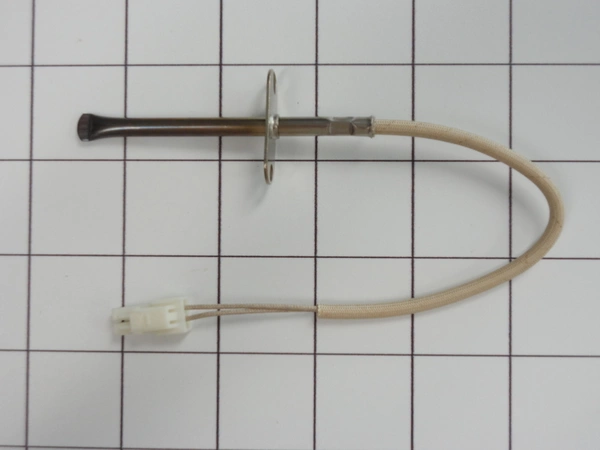
545259 Fisher & Paykel Oven Cooking Sensor Temperature Cyntec 3

Maintain your cooking experience with this high-quality temperature sensor designed specifically for Fisher & Paykel ovens. This reliable component ensures accurate temperature readings, allowing for precise cooking results every time. Created with durable materials, it’s engineered to withstand the demands of daily use, ensuring longevity and performance in your kitchen.
Ideal for oven repairs and replacements, this sensor is a direct fit for a variety of Fisher & Paykel models, simplifying the installation process. Whether you're a seasoned chef or a home cook, maintaining optimal oven conditions is crucial for perfect dishes. Trust in this essential part to Maintain your culinary creations and bring consistency to your baking. Ensure your oven operates at its best with this efficient and reliable temperature sensor.
Weight : 0.14 lbs
Package Dimension : 4.06 x 3.03 x 1.61
Please Verify Your Purchase to Submit a Review
Step 1: Unplug Your Oven
Before you replace your Fisher & Paykel 545259 oven temperature sensor, you should unplug your oven from the wall outlet to avoid any potential electrical shocks.
Step 2: Locate the Sensor
Once the oven is unplugged, locate the sensor in the oven. It should be attached to one of the side walls. Take note of where the sensor is because you will need to reattach it after the replacement.
Step 3: Remove the Sensor
Using a screwdriver, remove the screws holding the sensor in place. Carefully pull the sensor out of the oven so you don't damage any wiring.
Step 4: Install New Sensor
Once the old sensor has been removed, install the new sensor in the same location. Make sure to secure it using the screws that you removed earlier.
Step 5: Connect the Wiring
Carefully connect the wiring to the new sensor. Ensure each wire is connected firmly to avoid any shorts in the system.
Step 6: Test New Sensor
Plug the oven back in and turn it on. Test the new sensor by setting the oven to different temperatures and checking if it responds correctly. If the oven does not heat up to the desired temperatures, then your sensor may need to be calibrated.
Step 7: Reattach Sensor
Once you have tested the new sensor and ensured it is working properly, you can reattach it to the wall. Use the screws that were removed earlier to securely fasten the sensor in place.
Please keep in mind, these instructions are for general guidance and should always be used in conjunction with the manufacturer's manual, if available.


