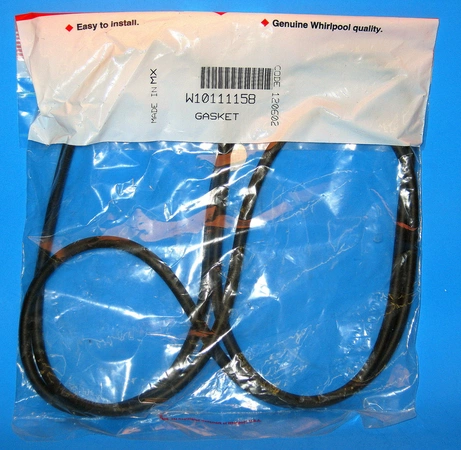
WPW10111158 Whirlpool Gasket Assembly

Whirlpool WPW10111158 Gasket- Washer. We're your #1 source for genuine OEM appliance parts. Contact us for further questions as well as any other appliance parts needs!
Weight : 0.43 lbs
Package Dimension : 9.75 x 6.25 x 0.87
Product Details
Reviews
Replaces Parts
Installation Instructions
Compatible Models
Compatible Brands
Whirlpool WPW10111158 Gasket- Washer. We're your #1 source for genuine OEM appliance parts. Contact us for further questions as well as any other appliance parts needs!
Weight : 0.43 lbs
Package Dimension : 9.75 x 6.25 x 0.87
Please Verify Your Purchase to Submit a Review
The following parts are replaced by this product
- 8540090
- W10111158
DIY Instructions for Replacing Your Whirlpool WPW10111158 Gasket
Replacing a gasket is an easy DIY task, and a great way to save money on repairs. This guide will walk you through the step-by-step process of replacing the Whirlpool WPW10111158 Gasket.
Tools Needed:
• Screwdriver
• Pliers
• New gasket
Instructions:
1. Start by turning off both gas and electrical power sources to your appliance. Make sure that any open flames in the area are extinguished, and the room is well ventilated to prevent the build-up of gas.
2. Unplug the appliance and remove the back panel of the appliance.
3. Use a screwdriver to unscrew the screws from the gasket. Then gently pull the gasket away from the appliance.
4. Inspect the surface for any signs of wear or corrosion. If necessary, use pliers to remove any residual rubber or metal pieces.
5. Brush away any remnants of the old gasket, then clean the area with soapy water.
6. Dry the area and the new gasket before placing it onto the area.
7. Using a screwdriver, insert and tighten the screws into the new gasket. Alternatively, you can use tape to secure the gasket if preferred.
8. Replace the back panel of the appliance and plug it back into the outlet.
9. Turn on both gas and electrical power sources to the appliance.
10. Test the appliance to make sure the new gasket is working properly.
Congratulations! You’ve successfully installed a new gasket and saved yourself some money by doing it yourself.
Please keep in mind, these instructions are for general guidance and should always be used in conjunction with the manufacturer's manual, if available.


