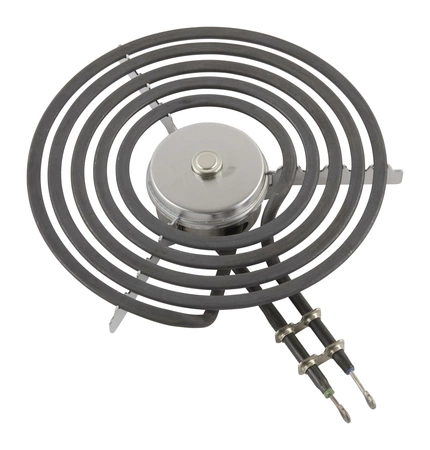
W11396790 Whirlpool Surface Coil Element

W11396790 is an original equipment manufactured (OEM) part. Maintain your cooking experience with the W11396790 heating element. Designed for unparalleled performance, this coil element by Whirlpool ensures even heating across your range, making meal prep faster and more efficient. Compatible with a variety of well-known brands such as Admiral, Amana, Jenn-Air, Kenmore, Kitchenaid, Magic Chef, Maytag, Norge, and Roper, this part guarantees versatility and reliability for any kitchen setup.
Constructed specifically for range appliances, this heating element is easy to install, allowing you to restore your cooking surface to its optimal condition without hassle. Ensure your meals are cooked to perfection with this high-quality replacement part that delivers consistently reliable heat, essential for boiling, frying, and baking. Keep your kitchen running smoothly and efficiently with this indispensable component, designed to meet the needs of any home chef.
Weight : 2.17 lbs
Package Dimension : 9.69 x 9.53 x 3.27
Please Verify Your Purchase to Submit a Review
1. Gather the required tools and materials for the repair. You will need a screwdriver, pliers, replacement Whirlpool W11396790 ELMNT-SURF Heating Element, and a Phillips head screwdriver.
2. Disconnect the power supply to the appliance. This is essential for safety purposes.
3. Remove the screws and nuts from the back of the appliance. Once all of the screws and nuts are removed, carefully pull away the top and side panels to expose the heating element.
4. Take out the screws and brackets holding the ELMNT-SURF heating element in place.
5. Carefully remove the old heating element and dispose of it properly.
6. Install the new Whirlpool W11396790 ELMNT-SURF Heating Element in the correct direction and replace the screws and brackets that were removed. Make sure to tighten them securely.
7. Reconnect the power to the appliance and test the new heating element.
8. Replace the side and top panels, and reattach the screws and nuts to the back of the appliance.
9. Clean up any loose debris or dust and check to make sure the appliance is operating properly.
Please keep in mind, these instructions are for general guidance and should always be used in conjunction with the manufacturer's manual, if available.


