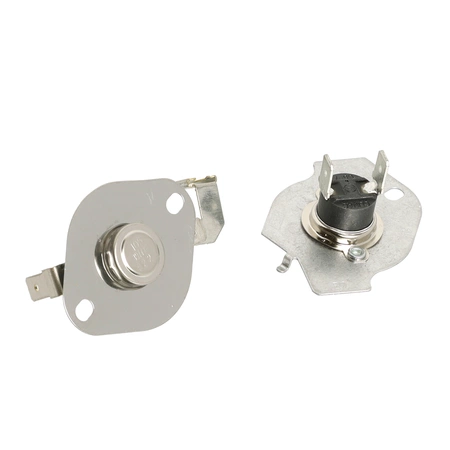
W10900067 Whirlpool Dryer Cut-Off Timer

Ensure your dryer operates smoothly with this high-quality cut-off timer. Designed specifically for Whirlpool appliances, this circuit board and timer overlay combination is compatible with several leading brands, including Admiral, Amana, Jenn-Air, Kenmore, Kitchenaid, Magic Chef, Maytag, Norge, and Roper. Crafted to meet original equipment specifications, it guarantees precise timing and reliable performance, helping you avoid drying delays and energy waste. Whether you're undergoing repairs or upgrading your appliance, this component is essential for maintaining optimal dryer function. Easy to install, this durable part will restore your dryer’s efficiency, making laundry days seamless. Maintain your appliance maintenance today with this dependable replacement part.
Weight : 0.10 lbs
Package Dimension : 4.21 x 2.95 x 1.10
Please Verify Your Purchase to Submit a Review
Replacing the Whirlpool Dryer Cut-Off Timer | Step-by-Step DIY Guide
Are you having issues with your Whirlpool dryer’s cut-off timer? If so, replacing it is a relatively easy task that can be done in no time. To help you out, we’ve put together this step-by-step DIY guide to replacing the Whirlpool Dryer Cut-Off Timer (Part number: W10900067).
Step 1: Unplug Your Whirlpool Dryer
Safety first! To prevent any potential hazard, make sure to unplug your Whirlpool dryer from the wall outlet before beginning any maintenance.
Step 2: Open the Top Panel of Your Whirlpool Dryer
Your Whirlpool dryer will usually have two screws on the top panel that need to be removed before you can open it up. Once these screws are taken off, pull up the top panel and set it aside.
Step 3: Locate the Cut-Off Timer
The cut-off timer should be located in the same area as the heater element. It looks like a large black knob with a wire connected to it.
Step 4: Remove the Old Cut-Off Timer
Disconnect the wire connected to the old cut-off timer. Next, use a screwdriver to carefully remove the mounting screws holding the old cut-off timer in place.
Step 5: Install the New Cut-Off Timer
Place your new cut-off timer in the same position as the old one and secure it in place using the same mounting screws. Reconnect the wire to the new cut-off timer and make sure that it is tight and secure.
Step 6: Close the Top Panel of Your Whirlpool Dryer
Once the new cut-off timer is in place, reattach the top panel to your Whirlpool dryer. Secure the panel in place with the two screws and make sure that the panel is tightly closed.
Step 7: Plug Your Whirlpool Dryer Back In
After the top panel is secure, it’s safe to plug your Whirlpool dryer back into the wall outlet. Now, your dryer should be functioning properly again.
Congratulations, you’ve just replaced the cut-off timer on your Whirlpool dryer! In no time at all, you’ve saved yourself some money while gaining a sense of accomplishment.
Please keep in mind, these instructions are for general guidance and should always be used in conjunction with the manufacturer's manual, if available.


