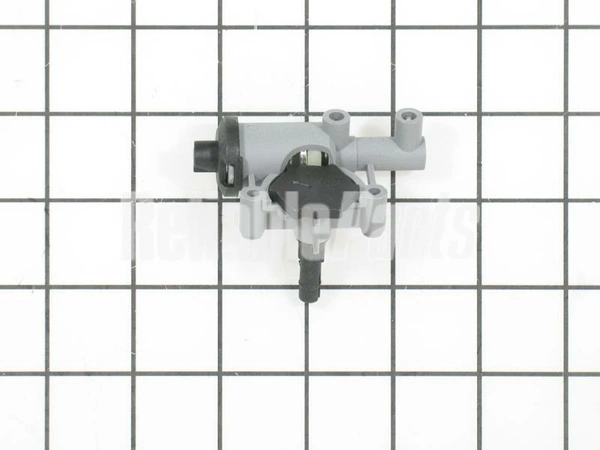
74002413 Whirlpool Igniter

Maintain your baking performance with the reliable 74002413 igniter from Whirlpool. Designed as a key component for various oven types, this switch ensures efficient ignition for a consistent cooking experience. Compatible with major brands such as Admiral, Amana, Jenn-Air, Kenmore, KitchenAid, Magic Chef, Maytag, Norge, Roper, and Whirlpool, this part is perfect for maintaining your appliance's functionality.
Constructed for durability and ease of installation, this igniter is an essential replacement for anyone experiencing ignition issues. Get back to creating delicious meals worry-free, knowing your oven is equipped with a high-quality part that meets rigorous standards. Ensure your kitchen runs smoothly with this dependable igniter designed to help you meet your culinary needs.
Weight : 0.06 lbs
Package Dimension : 2.37 x 1.75 x 2.12
Please Verify Your Purchase to Submit a Review
Please note: We use this information only to confirm your purchase, it won’t be published.
Replacing the Whirlpool 74002413 Igniter
Tools and materials needed:
-Power drill
-Screwdrivers
-Socket set
-New Whirlpool 74002413 Igniter
-Thermocoupler
Step 1: Begin by shut down the power to the furnace, either by switching off the main switch or by turning off the breaker in your home’s electrical box.
Step 2: Depending on the model of the furnace, you may need to remove some outer panels to access the ignitor. In some models, the ignitor is located near the burner, and is quite accessible, while in others, it may be hidden under a series of panels. This can generally be accomplished with a power drill and some screwdrivers.
Step 3: Unscrew the old ignitor and disconnect any wires that have become attached to it.
Step 4: Fit the new Whirlpool 74002413 igniter into place and then attach the wiring connections - if a harness was included with the new part, use this to make the connections. Make sure to wrap the connections in electrical tape to ensure they remain secure
Step 5: Fit the thermocoupler and then begin to reassemble the furnace, putting back all panels removed during the taking apart process.
Step 6: Finally, restore the electrical power to the furnace and test operation.
Please keep in mind, these instructions are for general guidance and should always be used in conjunction with the manufacturer's manual, if available.


