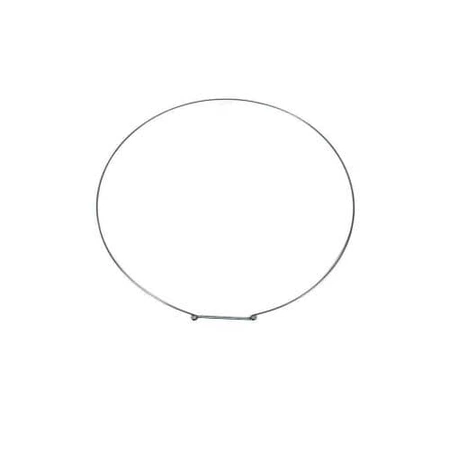
WH01X10744 GE Washer Gasket Clamp

Ensure your appliance operates smoothly with the WH01X10744 washer gasket clamp from GE. This essential fastener is designed for durability and reliability, making it an ideal choice for homeowners seeking to maintain their washing machines effectively. Compatible with major brands like Hotpoint, Haier, Monogram, and Café, this part guarantees a snug fit, ensuring a secure seal during operation. Replace worn or damaged clamps to Maintain performance and prevent leaks, prolonging the lifespan of your washer. Crafted with precision, this gasket clamp not only meets industry standards but also reflects GE's commitment to quality. Maintain your washer's efficiency today with this dependable component.
Weight : 9.25 lbs
Package Dimension : 19.90 x 19.00 x 3.40
Please Verify Your Purchase to Submit a Review
Please note: We use this information only to confirm your purchase, it won’t be published.
DIY Guide to Replacing the WH01X10744 GE Washer Clamp Gasket
Replacing a broken or worn-out washer clamp gasket on your GE washing machine is an easy do-it-yourself (DIY) repair that takes only a few minutes of your time. With the right tools and supplies, you can have the job done in no time and get back to enjoying your clean laundry. Here’s what you’ll need for the job:
1. WH01X10744 GE Washer Clamp Gasket
2. Flathead Screwdriver
3. Multipurpose Grease
Step 1: Unplug the washer from the power outlet
Before you begin any work on your washer, make sure to unplug your unit from the power outlet. This will help ensure your safety and protect you from any electric shock.
Step 2: Remove the existing gasket
Using a flathead screwdriver, carefully pry off the existing washer clamp gasket from the washer. Once it is removed, discard it.
Step 3: Apply multipurpose grease to the new gasket
Take the new gasket and apply a thin layer of multipurpose grease all around its edges. This will help ensure that the gasket seals properly when it is installed.
Step 4: Attach the new gasket
Align the new gasket in the place of the old one and press down firmly until it is in place. Make sure that it is securely attached to the washer.
Step 5: Plug the washer back in
Once the new gasket is in place, plug the washer back into the power outlet and you are now ready to use it again.
You have now successfully replaced the WH01X10744 GE Washer Clamp Gasket. Enjoy your freshly laundered items!
Please keep in mind, these instructions are for general guidance and should always be used in conjunction with the manufacturer's manual, if available.


