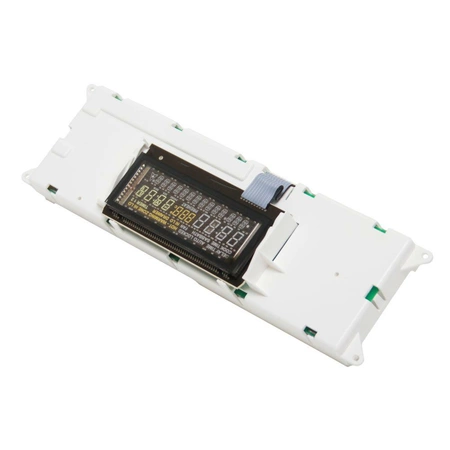
WP8507P232-60 Whirlpool Electronic Control Board

WP8507P232-60 Whirlpool Electronic Control Board
Weight : 3.24 lbs
Package Dimension : 15.25 x 5.25 x 5.75
Product Details
Reviews
Replaces Parts
Installation Instructions
Compatible Models
Compatible Brands
WP8507P232-60 Whirlpool Electronic Control Board
Weight : 3.24 lbs
Package Dimension : 15.25 x 5.25 x 5.75
Please Verify Your Purchase to Submit a Review
The following parts are replaced by this product
- 74011750
- 8507P232-60
Replace the Whirlpool WP8507P232-60 CNTRL-ELEC+CORECHARGE6
DIY instructions for replacing the Whirlpool WP8507P232-60 CNTRL-ELEC+CORECHARGE6
1. Disconnect the power cord from the outlet and turn off all breakers providing power to the range.
2. Remove the panel that covers the control panel by removing the screws typically at the top of the range panel.
3. Remove the screws that secure the control panel in its place. This will allow you to access the wiring connector.
4. Carefully remove the existing control panel and set aside.
5. Place the replacement control panel in the same location and reattach the screws used to secure it in place.
6. Connect the wiring harness to the new control panel, making sure that the wiring is in the same configuration as the previous panel.
7. Replace the panel that covers the control panel, being sure to use the same screws previously used.
8. Plug the power cord back into the outlet, and turn on the breaker for the range.
9. Test the new control panel to make sure it is functioning correctly.
10. Enjoy your new control panel!
Please keep in mind, these instructions are for general guidance and should always be used in conjunction with the manufacturer's manual, if available.


