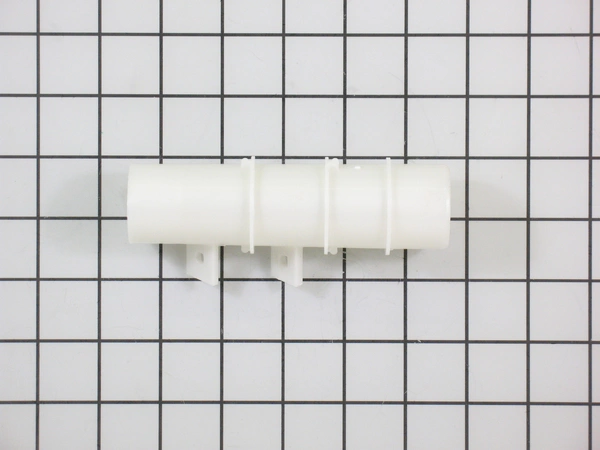
3504ER3002A LG Washer Pressure Switch Air Chamber

Maintain the efficiency of your LG washer with the 3504ER3002A pressure switch air chamber. Designed to fit seamlessly into your LG appliance, this essential component ensures accurate water level measurements, optimizing wash cycles for superior performance. Crafted from high-quality materials, the pressure switch air chamber promotes durability and reliable operation, reducing the risk of leaks and malfunctions.
Whether you're replacing a worn-out part or performing maintenance, this item is a vital addition to your washer parts arsenal. Its compatibility with a range of LG models makes installation straightforward and hassle-free. Ensure your laundry routine runs smoothly by upgrading to this reliable air chamber designed to keep your washer operating at peak performance.
Weight : 0.17 lbs
Package Dimension : 5.75 x 2.20 x 1.81
Please Verify Your Purchase to Submit a Review
Please note: We use this information only to confirm your purchase, it won’t be published.
Replacing the 3504ER3002A LG Washer Pressure Switch Air Chamber
Tools Needed:
· Phillips Screwdriver
· Flat Head Screwdriver
· Pliers
· New 3504ER3002A LG Washer Pressure Switch Air Chamber
Instructions:
1. Unplug your washer from the power outlet.
2. Pull the washer out away from the wall.
3. Locate the pressure switch air chamber, which is located on the back of the washer.
4. Use a flat head screwdriver to remove the 4 screws that are securing the chamber to the frame of the washer.
5. Carefully lift up and disconnect the wire harness from the back of the pressure switch air chamber.
6. Unscrew the two screws to loosen the clamp on the pressure switch air chamber.
7. Remove the old chamber from the washer and discard.
8. Place the new 3504ER3002A LG Washer Pressure Switch Air Chamber in its place.
9. Secure the clamp with the two screws.
10. Connect the wire harness to the back of the chamber.
11. Put the 4 screws back in to secure the chamber to the washer.
12. Push the washer back into place.
13. Plug the washer back into the power outlet.
14. Test the new pressure switch air chamber by running a cycle.
Please keep in mind, these instructions are for general guidance and should always be used in conjunction with the manufacturer's manual, if available.


