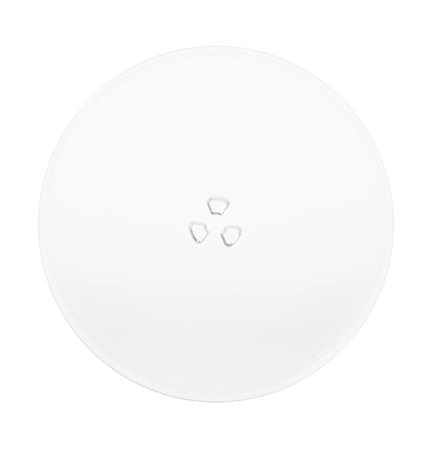
WB49X10129 GE Oven Microwave Turntable Glass Cooking Tray

WB49X10129 is an original equipment manufactured (OEM) part. Elevate your cooking experience with this premium glass cooking tray, designed specifically for your GE appliances. This durable turntable ensures even cooking and reheating, allowing you to achieve consistent results every time. Compatible with a range of brands including Hotpoint, Haier, Monogram, and Café, it provides versatility for various GE oven models.
Crafted from high-quality glass, this tray is not only resilient but also easy to clean, making it a practical addition to your kitchen. With part number WB49X10129, it seamlessly integrates with your microwave oven to enhance functionality. Whether you're preparing a quick meal or warming leftovers, this glass tray is an essential component for optimal performance. Maintain your appliance today and enjoy the convenience it brings to your culinary tasks!
Weight : 8.81 lbs
Package Dimension : 18.27 x 15.63 x 4.29
Product Details
Reviews
Replaces Parts
Installation Instructions
Compatible Models
Compatible Brands
WB49X10129 is an original equipment manufactured (OEM) part. Elevate your cooking experience with this premium glass cooking tray, designed specifically for your GE appliances. This durable turntable ensures even cooking and reheating, allowing you to achieve consistent results every time. Compatible with a range of brands including Hotpoint, Haier, Monogram, and Café, it provides versatility for various GE oven models.
Crafted from high-quality glass, this tray is not only resilient but also easy to clean, making it a practical addition to your kitchen. With part number WB49X10129, it seamlessly integrates with your microwave oven to enhance functionality. Whether you're preparing a quick meal or warming leftovers, this glass tray is an essential component for optimal performance. Maintain your appliance today and enjoy the convenience it brings to your culinary tasks!
Weight : 8.81 lbs
Package Dimension : 18.27 x 15.63 x 4.29
Please Verify Your Purchase to Submit a Review
The following parts are replaced by this product
- WB49X10067
- WB49X10061
- WB49X10074
- WB49X10225
How to Replace the WB49X10129 GE Microwave Oven Glass Cooking Tray Turntable
1. Turn off the power supply to the microwave; unplug it from the wall and make sure that all the settings are off.
2. Open the microwave door and remove any dishes and other objects sitting on or in the microwave. Make sure to carefully set them aside in a safe place.
3. To remove the old turntable, first locate the two tabs at the edge of the turntable. Carefully push down on both of the tabs, and then pull the turntable up and out of the microwave.
4. Get your new tray turntable and place it in the center of the microwave oven. Line up the tabs with the slots, and then press down on the tray until it snaps into place.
5. Close the microwave door and plug the electrical cord back into the wall outlet. Turn on your microwave and check that the tray rotates correctly.
6. Your new tray turntable should now be properly installed and functioning correctly.
Please keep in mind, these instructions are for general guidance and should always be used in conjunction with the manufacturer's manual, if available.


