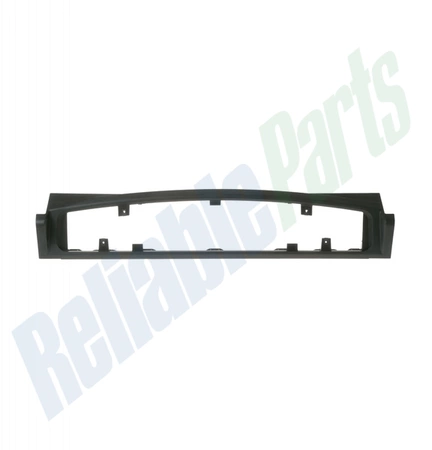
WB36T10666 GE Range Trim Piece

WB36T10666 is an original equipment manufactured (OEM) part. Revitalize your kitchen with the WB36T10666 trim piece, expertly crafted to enhance the aesthetic of your GE oven. This essential part not only provides a sleek finish but is also designed for compatibility with other reputable brands such as Hotpoint, Haier, Monogram, and Café. Engineered for durability and easy installation, this trim piece ensures a seamless fit, allowing you to maintain the integrity of your appliance's design. Maintain the look of your oven while ensuring it operates at its best. Whether you are performing a repair or simply updating your kitchen decor, this trim piece is a practical and stylish choice. Transform your cooking space with this reliable oven part, designed for both functionality and elegance.
Weight : 10.16 lbs
Package Dimension : 37.20 x 7.30 x 5.20
Please Verify Your Purchase to Submit a Review
Please note: We use this information only to confirm your purchase, it won’t be published.
How to Replace the GE WB36T10666 Panel Control Assembly
1. Shut off power to the appliance. Unplug the appliance from the wall outlet or switch off power at the circuit breaker.
2. Remove the control panel assembly by gently pulling it away from the wall. Depending on the model, access to the panel may require removing screws and/or other fasteners that hold the panel in place.
3. Disconnect the wires and components attached to the old panel control assembly. Take note of their placement on the new assembly before disconnecting.
4. Install the new panel control assembly. Secure with any fasteners that were removed during step 2.
5. Reconnect all of the wires and components to their original positions on the new assembly.
6. Test the connection and operation of the assembly.
7. Restore power to the appliance and enjoy your newly replaced control panel assembly!
Please keep in mind, these instructions are for general guidance and should always be used in conjunction with the manufacturer's manual, if available.


