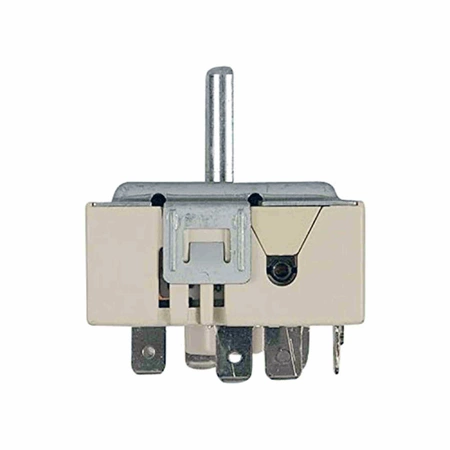
WPW10244639 Whirlpool Burner Control Switch

WPW10244639 Whirlpool Burner Control Switch
Weight : 0.13 lbs
Package Dimension : 3.58 x 2.17 x 2.24
Product Details
Reviews 1
Replaces Parts
Installation Instructions
Compatible Models
Compatible Brands
WPW10244639 Whirlpool Burner Control Switch
Weight : 0.13 lbs
Package Dimension : 3.58 x 2.17 x 2.24
Please Verify Your Purchase to Submit a Review
The following parts are replaced by this product
- W10244639
DIY Guide: How to Replace a Whirlpool Burner Control Switch (WPW10244639)
Tools Needed:
-Screwdriver
-Replacement Whirlpool Burner Control Switch (WPW10244639)
Step 1: Unplug the range and make sure all power is off.
Step 2: Remove the screws on the front panel of the range that hold the top panel in place. Lift up the top panel so that you can access the burner control switch behind it.
Step 3: Disconnect the wiring from the old burner control switch. Make sure to take note of the color of the wires and which terminals they were connected to.
Step 4: Remove the two screws holding the old burner control switch in place.
Step 5: Install the new burner control switch by reversing the steps from the last step.
Step 6: Reconnect the wires to the new burner control switch in the same way that you disconnected them from the old switch.
Step 7: Place the top panel back onto the range and secure it with the screws.
Step 8: Plug the range back into the wall outlet and turn on the power to the range.
Step 9: Test the new burner control switch to make sure it’s working properly.
Congratulations, you have successfully replaced your Whirlpool Burner Control Switch (WPW10244639)!
Please keep in mind, these instructions are for general guidance and should always be used in conjunction with the manufacturer's manual, if available.


