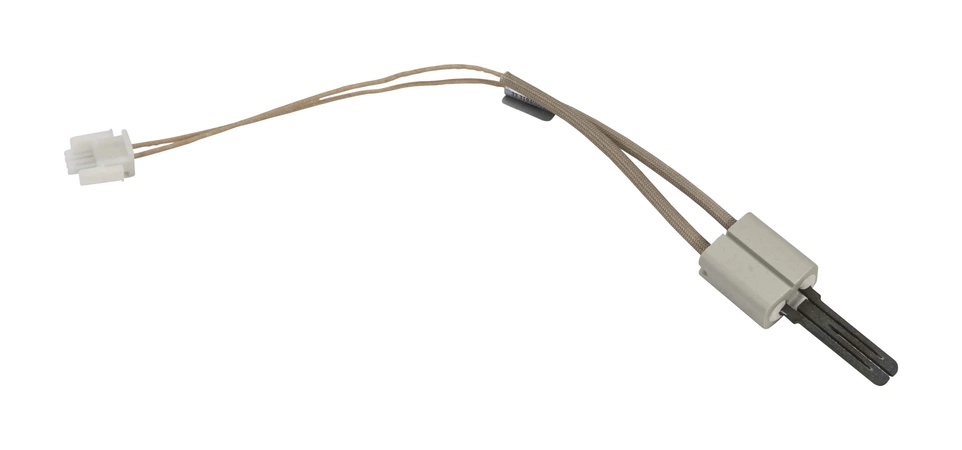
WP31940001 Whirlpool Igniter Assembly

The Range Bake Igniter glows white-hot to heat properly, and lives behind the access panel at the rear of your oven. If the igniter in your oven is glowing red or orange, or not glowing at all, it may be weak and needs to be replaced. The new igniter may not have connections attached to its wire ends, so you'll have to cut the connections off of the old igniter, strip the wires, and use the included wire nuts with the new igniter. Installing this part will require basic hand tools, some disassembly of the oven and novice repair experience. You should unplug the appliance or shut off the house circuit breaker for the appliance before installing this part. Also be sure to turn the gas valve off before installing this part.Part Specification• This product is a Factory Certified Part. These three words represent quality parts and accessories designed specifically for your appliance. Time tested engineering that meets our strict quality specifications• This product is a replacement part• Package contains (1) Range Bake Igniter• Tools Needed: Multi screwdriver, wire splicing tool
Weight : 0.59 lbs
Package Dimension : 11.97 x 4.37 x 1.57
Product Details
Reviews
Replaces Parts
Installation Instructions
Compatible Models
Compatible Brands
The Range Bake Igniter glows white-hot to heat properly, and lives behind the access panel at the rear of your oven. If the igniter in your oven is glowing red or orange, or not glowing at all, it may be weak and needs to be replaced. The new igniter may not have connections attached to its wire ends, so you'll have to cut the connections off of the old igniter, strip the wires, and use the included wire nuts with the new igniter. Installing this part will require basic hand tools, some disassembly of the oven and novice repair experience. You should unplug the appliance or shut off the house circuit breaker for the appliance before installing this part. Also be sure to turn the gas valve off before installing this part.Part Specification• This product is a Factory Certified Part. These three words represent quality parts and accessories designed specifically for your appliance. Time tested engineering that meets our strict quality specifications• This product is a replacement part• Package contains (1) Range Bake Igniter• Tools Needed: Multi screwdriver, wire splicing tool
Weight : 0.59 lbs
Package Dimension : 11.97 x 4.37 x 1.57
Please Verify Your Purchase to Submit a Review
The following parts are replaced by this product
- 31940001
- 0316223
Replacing the WP31940001 Whirlpool Flat Oven Ignitor
1. Verify that electricity is turned off to the oven. Unplug the power cord, or turn off the circuit breaker to the oven.
2. Remove the oven racks and any debris inside the oven cavity.
3. Locate the ignitor on the top of the oven and remove the two wires connected to it.
4. Carefully remove the screws that secure the ignitor in place. Pull the ignitor out and remove it from the oven.
5. Put the new ignitor in place and re-insert the screws to secure it.
6. Reconnect the two wires to the ignitor, making sure they are properly connected.
7. Re-install the racks and any other parts inside the oven cavity.
8. Plug the power cord back in or turn the circuit breaker back onto the oven. Wait 5-10 minutes for the oven’s circuitry to reset.
9. Turn the oven on and verify that the ignitor is working properly.
Please keep in mind, these instructions are for general guidance and should always be used in conjunction with the manufacturer's manual, if available.
No more associated models for this part.


