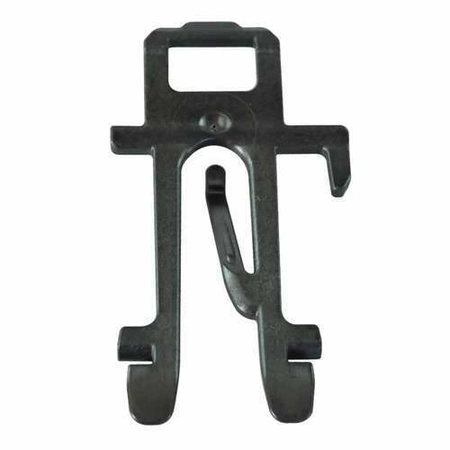
W11545309 Whirlpool Strike

Whirlpool W11545309 STRIKEWe're your #1 source for genuine OEM appliance parts. Contact us for further questions as well as any other appliance parts needs!
Weight : 0.04 lbs
Package Dimension : 3.46 x 1.65 x 0.98
Product Details
Reviews
Replaces Parts
Installation Instructions
Compatible Models
Compatible Brands
Whirlpool W11545309 STRIKEWe're your #1 source for genuine OEM appliance parts. Contact us for further questions as well as any other appliance parts needs!
Weight : 0.04 lbs
Package Dimension : 3.46 x 1.65 x 0.98
Please Verify Your Purchase to Submit a Review
The following parts are replaced by this product
- W11090487
Replacing the Whirlpool W11545309 STRIKE Washer
1. Unplug the power cord from the outlet and turn off the hot and cold water supply valves for the washing machine.
2. Disconnect the hoses from the back of the washer.
3. Remove the two mounting screws from the back of the washer that secure it to the floor.
4. Carefully pull the washer away from the wall and place a flat board or other object about four inches tall underneath it so that it can be safely tilted backward.
5. Use a wrench to loosen and remove the nuts from the retaining bolts that connect the washer to the drain hose and the water supply hoses.
6. Lift the washer off the board and move it out of the way.
7. Place the new washer into the opening and attach the retaining bolts to the drain hose and the water supply hoses with the wrench. Secure them and do not overtighten.
8. Position the washer using the board and tilt it forward so that the back of the washer is flush with the wall.
9. Secure the washer to the floor using the mounting screws.
10. Restore the power cord connection and reconnect the hoses to the back of the washer.
11. Turn on the water supply valves and run a cycle to check the operation of the machine.
Please keep in mind, these instructions are for general guidance and should always be used in conjunction with the manufacturer's manual, if available.


