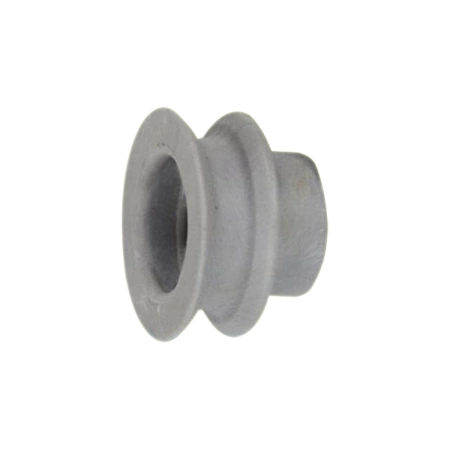
W11545296 Whirlpool Roller

Whirlpool W11545296 WHEELWe're your #1 source for genuine OEM appliance parts. Contact us for further questions as well as any other appliance parts needs!
Product Details
Reviews
Replaces Parts
Installation Instructions
Compatible Models
Compatible Brands
Whirlpool W11545296 WHEELWe're your #1 source for genuine OEM appliance parts. Contact us for further questions as well as any other appliance parts needs!
Please Verify Your Purchase to Submit a Review
The following parts are replaced by this product
- W11048221
Step 1: Gather All Materials
You will need the following items before you begin the replacement:
• Phillips head screwdriver
• Pliers
• New Whirlpool W11545296 WHEEL-ASSY
• Safety glasses
Step 2: Prepare the Appliance
Unplug the appliance or turn off the power at the circuit breaker to ensure there is no electric flow to the appliance. Open the appliance and locate the Whirlpool W11545296 WHEEL-ASSY.
Step 3: Remove the Wheel-Assy
Using a Phillips head screwdriver, remove the fastening screws that secure the wheel-assy and separate it from the appliance. Place the screws in a safe and designated place.
Step 4: Install the New Wheel-Assy
Insert the new Whirlpool W11545296 WHEEL-ASSY into place and use pliers to secure it with the fastening screws. Make sure all screws are tightly secured.
Step 5: Test the Wheel-Assy
Turn on the power to the appliance or plug it back in, and test the new wheel-assy. Make sure it functions correctly and is securely attached.
Step 6: Clean Up
Once the wheel-assy is tested and working correctly, replace all safety covers and transport the appliance back to its original location.
Please keep in mind, these instructions are for general guidance and should always be used in conjunction with the manufacturer's manual, if available.


