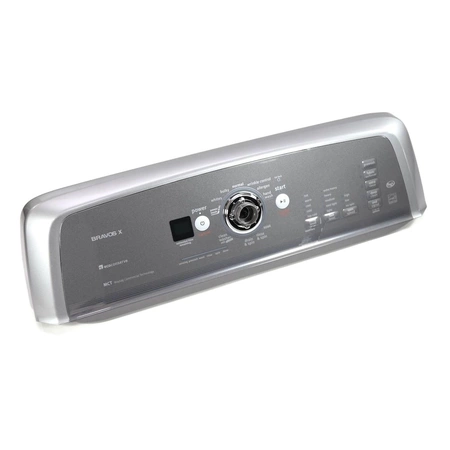
W11416459 Whirlpool Control Panel

Whirlpool W11416459 CONSOLE We're your #1 source for genuine OEM appliance parts. Contact us for further questions as well as any other appliance parts needs!
Package Dimension : 0.11 x 0.11 x 0.11
Whirlpool W11416459 CONSOLE We're your #1 source for genuine OEM appliance parts. Contact us for further questions as well as any other appliance parts needs!
Package Dimension : 0.11 x 0.11 x 0.11
Please Verify Your Purchase to Submit a Review
Please note: We use this information only to confirm your purchase, it won’t be published.
DIY Instructions for Replacing a Whirlpool W11416459 Console
1. Unplug the appliance before starting the replacement process.
2. Install new console and secure it with screws.
3. Connect the electrical and air supply lines to the main unit.
4. Reconnect the wiring harness and apply electrical tape as necessary.
5. Secure the console to the main unit with the provided mounting clips.
6. Reinstall the vent tubing and reconnect the appliance to the power source.
7. Check to ensure that all components are in place, and adjust as necessary.
8. Finish the repair by running tests on the product to confirm successful replacement.
9. Make sure all screws are securely tightened, and use sealant to properly bond all joints when needed.
10. Label the work completed so that future service can be done more efficiently.
Please keep in mind, these instructions are for general guidance and should always be used in conjunction with the manufacturer's manual, if available.


