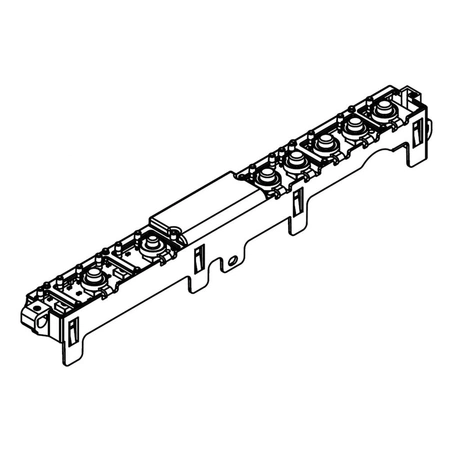
W11402115 Whirlpool User Control and Display Board

W11402115 Whirlpool User Control and Display Board
Package Dimension : 10.75 x 4.75 x 2.50
Product Details
Reviews
Replaces Parts
Installation Instructions
Compatible Models
Compatible Brands
W11402115 Whirlpool User Control and Display Board
Package Dimension : 10.75 x 4.75 x 2.50
Please Verify Your Purchase to Submit a Review
The following parts are replaced by this product
- W11084672
DIY Instructions for Replacing the Whirlpool W11402115 HOUSING-UI
Tools Needed:
- Flat-head screwdriver
- Phillips head screwdriver
- Socket wrench with appropriate size sockets
- Pliers
- Vacuum
Step 1: Unplug the appliance from the electrical outlet and shut off the water supply valve.
Step 2: Using a flat-head screwdriver, remove the screws that attach the vent ducting to the back of the appliance. Then, use a vacuum to remove any debris from the area.
Step 3: With the help of a Phillips head screwdriver, remove the four screws that hold the housing in place. Then, use the socket wrench to remove the two screws that attach the HOUSING-UI to the housing.
Step 4: Use pliers to remove the electrical connectors from the old HOUSING-UI.
Step 5: Slide the new HOUSING-UI into place, making sure it is aligned properly. Then, use the socket wrench to attach the two screws the secure the HOUSING-UI to the housing.
Step 6: Reattach all the necessary electrical connectors to the new HOUSING-UI.
Step 7: Use a Phillips head screwdriver to replace the four screws that hold the housing in place.
Step 8: Reattach the vent ducting to the back of the appliance with a flat-head screwdriver.
Step 9: Plug the appliance in to the electrical outlet and open the water supply valve. Turn on the appliance to make sure it is working properly.
Please keep in mind, these instructions are for general guidance and should always be used in conjunction with the manufacturer's manual, if available.


