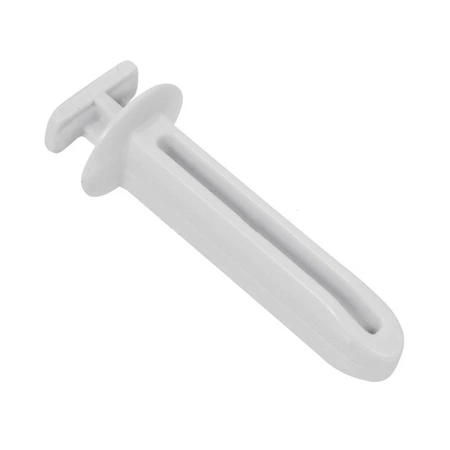
W11398789 Whirlpool Strike

Whirlpool W11398789 STRIKE We're your #1 source for genuine OEM appliance parts. Contact us for further questions as well as any other appliance parts needs!
Weight : 0.03 lbs
Package Dimension : 3.94 x 1.38 x 0.71
Product Details
Reviews
Replaces Parts
Installation Instructions
Compatible Models
Compatible Brands
Whirlpool W11398789 STRIKE We're your #1 source for genuine OEM appliance parts. Contact us for further questions as well as any other appliance parts needs!
Weight : 0.03 lbs
Package Dimension : 3.94 x 1.38 x 0.71
Please Verify Your Purchase to Submit a Review
Please note: We use this information only to confirm your purchase, it won’t be published.
The following parts are replaced by this product
- W10693989
DIY Guide for Replacing the Whirlpool W11398789 STRIKE
Replacing the Whirlpool W11398789 strike can be a relatively straightforward process that you can complete yourself with a few tools. This guide will provide step-by-step instructions to help you replace the strike in your Whirlpool washing machine.
Safety First: Before starting any repair project, it is important to make sure to unplug the appliance and turn off the main power source.
Step 1: Locate and remove the old strike. Before beginning the replacement process, you will need to locate the old strike and remove it from the machine. To do this, start by removing the washer cabinet and then look for the strike near the door opening. Unscrew the mounting screws that attach the old strike and carefully pull it away from the doorway.
Step 2: Install the new strike. Once the old strike has been removed, it’s time to install the new strike. Begin by positioning the new strike in the same location as the old one and securely fastening it with the screws provided. Make sure to tighten the screws firmly, as this will ensure the security of the strike.
Step 3: Test the operation. After the new strike has been installed, turn the power back on and open and close the washer door several times. This will allow you to test the operation of the new strike and make sure that it is working properly. If the strike is not operating correctly, it may need to be adjusted or the mounting screws may need to be tightened more.
That’s it! Your Whirlpool W11398789 strike has now been successfully replaced. Remember to take all necessary safety precautions when conducting any repair job to ensure that you are protected.
Please keep in mind, these instructions are for general guidance and should always be used in conjunction with the manufacturer's manual, if available.


