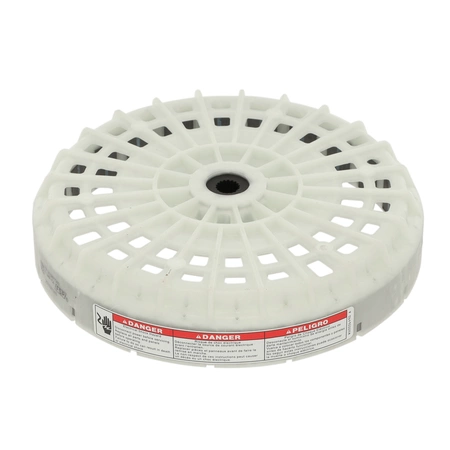
W11260238 Whirlpool Rotor Assembly

Whirlpool W11260238 ROTOR. We're your #1 source for genuine OEM appliance parts. Contact us for further questions as well as any other appliance parts needs!
Weight : 8.46 lbs
Package Dimension : 14.00 x 13.75 x 5.50
Whirlpool W11260238 ROTOR. We're your #1 source for genuine OEM appliance parts. Contact us for further questions as well as any other appliance parts needs!
Weight : 8.46 lbs
Package Dimension : 14.00 x 13.75 x 5.50
Please Verify Your Purchase to Submit a Review
Replacing the Whirlpool W11260238 ROTOR
DIY Instructions
1. Before starting, make sure you turn off the power to your Whirlpool washing machine at the circuit breaker or unplug the machine.
2. Remove the back panel of your Whirlpool washer. This is typically done by unscrewing a few screws located on the back of the machine and then lifting up the back panel.
3. Take out the old rotor from the washing machine by disconnecting the leads and unscrewing any mounting hardware.
4. Install the new rotor in the same location as the old one, making sure that it is securely fastened in place with the mounting hardware and the leads are connected correctly.
5. Replace the back panel of the washing machine after ensuring that all the connections have been made correctly.
6. Turn the power back on to the machine and test the rotor’s performance by running a cycle.
7. If the rotor works properly, secure the back panel and you are done with the job.
Tips:
• Make sure you buy the correct part number (Whirlpool W11260238 ROTOR) before beginning the replacement process.
• Wear protective gloves while handling the parts and ensure that the area around the washing machine is clear of any obstructions while replacing the rotor.
Please keep in mind, these instructions are for general guidance and should always be used in conjunction with the manufacturer's manual, if available.


