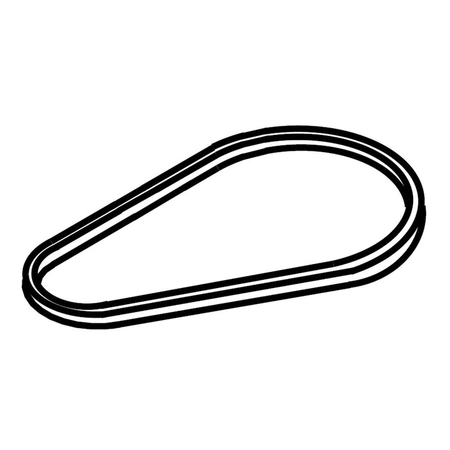
W11213879 Whirlpool Drive Belt

Whirlpool W11213879 BELT WASHER We're your #1 source for genuine OEM appliance parts. Contact us for further questions as well as any other appliance parts needs!
Weight : 0.31 lbs
Package Dimension : 5.91 x 5.43 x 1.34
Product Details
Reviews
Replaces Parts
Installation Instructions
Compatible Models
Compatible Brands
Whirlpool W11213879 BELT WASHER We're your #1 source for genuine OEM appliance parts. Contact us for further questions as well as any other appliance parts needs!
Weight : 0.31 lbs
Package Dimension : 5.91 x 5.43 x 1.34
Please Verify Your Purchase to Submit a Review
The following parts are replaced by this product
- W10850138
Step 1: Unplug the Washer
Before doing any work on a washer, the power must be disconnected. Unplug the washer from the wall socket and shut off its water supply.
Step 2: Open the Washer
To access the belt for replacement, the front panel of the washer needs to be removed. This can be done by removing the screws located at the bottom of the washer. Pull the front panel away from the washer body.
Step 3: Remove the Old Belt
Once the front panel is off, take out the old belt from the drive motor. Use a screwdriver or pliers if necessary to remove the belt.
Step 4: Install the New Belt
Once the old belt has been removed, line up the new belt with the grooves of the drive motor. Make sure the belt is properly fitted.
Step 5: Reattach the Front Panel
Once the new belt is installed, move the washer back into place and re-install the front panel. Tighten all of the loose screws.
Step 6: Test the Washer
Reconnect the washer to the water supply and electrical source. Run the washer through a spin cycle to ensure the belt is functioning properly. If there are any issues, repeat the steps above.
Please keep in mind, these instructions are for general guidance and should always be used in conjunction with the manufacturer's manual, if available.


