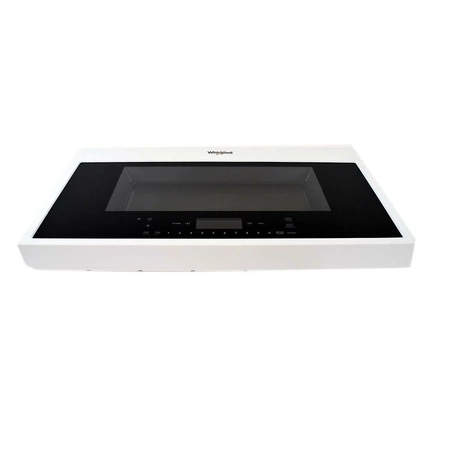
W11196131 Whirlpool Microwave Stainless Steel Door Assembly

Maintain your kitchen appliance with this high-quality door assembly designed for Whirlpool microwaves. Crafted from durable stainless steel, it not only enhances the aesthetic of your microwave but also ensures lasting performance and robustness. This replacement part is compatible with various leading brands, including Admiral, Amana, Jenn-Air, Kenmore, Kitchenaid, Magic Chef, Maytag, Norge, Roper, and more, making it a versatile choice for many households. Whether you're repairing a malfunctioning microwave or simply replacing a worn-out door, this assembly offers an easy installation process, ensuring your appliance operates smoothly. Restore efficiency and style to your cooking experience with this essential component.
Weight : 31.08 lbs
Package Dimension : 32.00 x 18.00 x 7.50
Please Verify Your Purchase to Submit a Review
Please note: We use this information only to confirm your purchase, it won’t be published.
DIY Instructions for Replacing a Whirlpool W11196131 Door/MW
Replacing the Whirlpool W11196131 door/microwave can be a simple DIY job. Follow these steps to complete the process and get back to cooking.
1. Unplug the door/microwave before beginning the replacement process.
2. Remove the trim piece mounted on the exterior of the appliance. This can be done by removing the 5 screws at the bottom of the trim piece and then pulling the trim piece away from the wall.
3. Remove the control panel by unscrewing the 2 screws located at the top and bottom of the control panel. Pull the control panel away from the wall.
4. Unscrew the 3 screws along the outer edge of the door/microwave that attach it to the appliance frame.
5. Carefully remove the door/microwave from the appliance frame and set aside.
6. Place the new door/microwave in place and screw in the 3 screws along the outer edge to secure it to the appliance frame.
7. Reattach the control panel by screwing the 2 screws at the top and bottom of the panel.
8. Put the trim piece back in place and secure it with the 5 screws located at the bottom of the trim piece.
9. Plug the door/microwave back into the wall and you're ready to start cooking again!
Replacing a Whirlpool W11196131 door/microwave is a straightforward DIY project that anyone can do. With just a few simple steps, you can get your appliance back up and running in no time.
Please keep in mind, these instructions are for general guidance and should always be used in conjunction with the manufacturer's manual, if available.


