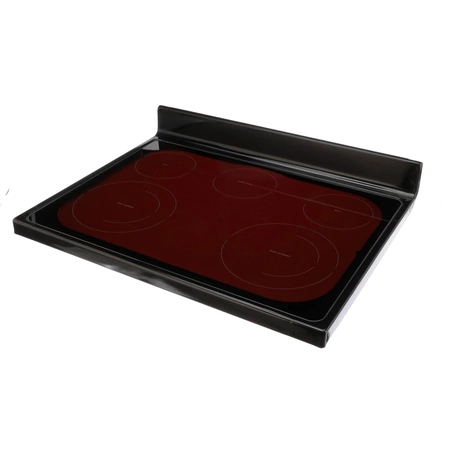
W11156895 Whirlpool Cooktop Maintop

Maintain your cooking experience with this high-quality cooktop maintop from Whirlpool. Designed for seamless compatibility with a variety of trusted brands such as Admiral, Amana, Jenn-Air, Kenmore, Kitchenaid, Magic Chef, Maytag, Norge, and Roper, this component ensures reliable performance in your kitchen. Made with durable materials, the glass top not only enhances the aesthetic of your appliance but also facilitates easy cleaning and maintenance. Whether you're replacing a worn part or completing a kitchen remodel, this cooktop is a pivotal addition for any range. Trust in Whirlpool's reputation for excellence, and enjoy efficient cooking with this essential range part. Make your culinary tasks easier and more enjoyable today!
Weight : 67.29 lbs
Package Dimension : 34.50 x 30.13 x 9.00
Please Verify Your Purchase to Submit a Review
Step 1 - Prepare for Installation
Before you begin, make sure you have all the necessary tools and supplies to replace your Whirlpool W11156895 cooktop. Collect a Phillips screwdriver, flathead screwdriver, and a putty knife. Remove all contents from counter and disconnect gas or electricity from source.
Step 2 - Remove Old Cooktop
Use a Phillips screwdriver to remove screws from the countertop behind the cooktop. Carefully lift the cooktop off the countertop. Use a flathead screwdriver to remove any remaining screws from the countertop if necessary.
Step 3 - Install New Cooktop
Lay the new cooktop onto the countertop. Line up the mounting holes with the holes in the countertop. Secure with the necessary screws. Reconnect the gas or electricity supply.
Step 4 - Seal Edges
Using a putty knife, apply a sealant around the edges of the cooktop to ensure it is properly sealed to the countertop. Allow the sealant to dry completely before using the cooktop.
Step 5 - Test Cooktop
To test the cooktop, turn on the gas or electricity supply and check all the burners to make sure they are functioning properly. If everything is in order, your new cooktop is ready to use!
Please keep in mind, these instructions are for general guidance and should always be used in conjunction with the manufacturer's manual, if available.


