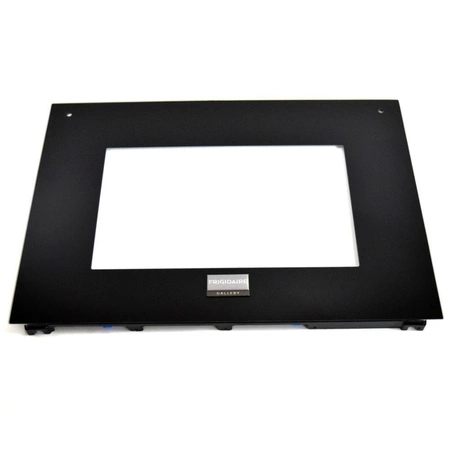
5304512283 Frigidaire Range Wall Oven Door Assembly

Maintain the performance and safety of your oven with this durable door assembly designed for a variety of well-known brands, including Frigidaire, Electrolux, and Kenmore. Crafted with precision, this essential component ensures a secure fit and reliable operation, making it a crucial addition to your kitchen appliance repair toolkit.
Compatible with popular brands like Crosley, Gibson, Kelvinator, Tappan, and Westinghouse, this hinge assembly is engineered to replace worn or damaged parts effectively. Installation is straightforward, streamlining the repair process so you can get back to cooking your favorite meals in no time. Choose this high-quality part to maintain your oven’s efficiency and longevity, ensuring your cooking experience remains seamless and enjoyable.
Please Verify Your Purchase to Submit a Review
Replacing the Bosch 00248820 Crockery Basket: DIY Instructions
Replacing your Bosch 00248820 Crockery Basket is a relatively easy task that can be done in under an hour. Follow these DIY instructions to replace the basket and return your Bosch dishwasher to working order.
Materials Needed:
- New Bosch 00248820 Crockery Basket
- Phillips head screwdriver
- Penetrating oil (optional)
Step 1: Unplug the dishwasher power cord and turn off the water supply.
Step 2: Remove the dishwasher racks that fit into the crockery basket.
Step 3: Using the Phillips head screwdriver, remove the screws from the basket holder. If these screws are tightened or difficult to remove, apply a few drops of penetrating oil to help loosen them up.
Step 4: Once the screws are removed, carefully lift out the old basket and set aside.
Step 5: Place the new basket into the holder and reinsert the screws. Tighten the screws until the basket is secured in place.
Step 6: Replace the dishwasher rack and plug in the power cord and turn on the water supply.
And there you have it! You’ve just replaced the Bosch 00248820 Crockery Basket with a few simple steps. Congratulations!
Please keep in mind, these instructions are for general guidance and should always be used in conjunction with the manufacturer's manual, if available.


