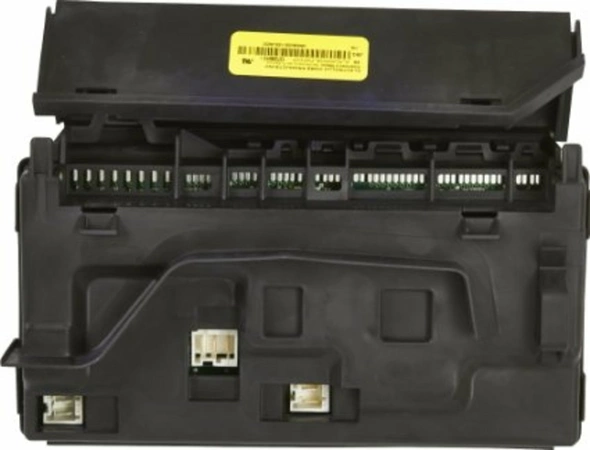
137208014NH Frigidaire Control Board

137208014NH Frigidaire Control Board
Product Details
Reviews
Replaces Parts
Installation Instructions
Compatible Models
Compatible Brands
137208014NH Frigidaire Control Board
Please Verify Your Purchase to Submit a Review
The following parts are replaced by this product
- 137208000
- 137208010
- 137208012
- 137208014
Step 1: Before attempting to replace the Frigidaire 137208014NH CONTROL BOARD, be sure to unplug the appliance from the power source.
Step 2: Remove the screws from the back panel of the appliance, as well as any plastic covers or other pieces that need to be removed in order to access the Control Board.
Step 3: If necessary, loosen or remove screws and/or clips that may be holding board in place.
Step 4: Pull off the wires from the board, noting where each wire goes.
Step 5: Remove the old control board and set aside.
Step 6: Place the new control board in the same spot and reconnect all the wires. Make sure each wire is in its proper place and is securely connected.
Step 7: Reinstall any plastic covers or other pieces that were removed to access the Control Board.
Step 8: Reinstall the screws that were removed from the back panel and securely tighten.
Step 9: Carefully inspect the area where the Control Board was replaced. Be sure there are no loose wires or screws, and that the plastic covers or other pieces have been properly reinstalled.
Step 10: Plug the appliance back into the power source and test the Control Board to make sure it is functioning properly.
Please keep in mind, these instructions are for general guidance and should always be used in conjunction with the manufacturer's manual, if available.


