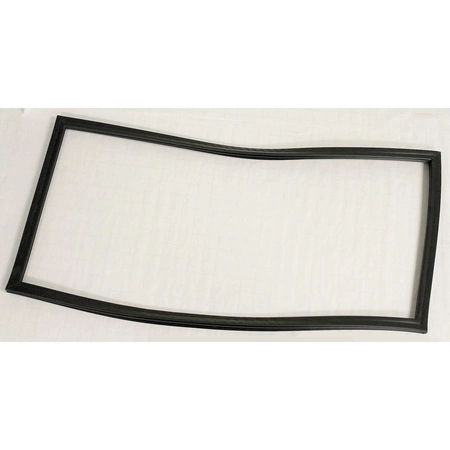
80-54743-00 U-Line Black Door Gasket
Part #: ULC 80-54743-00
80-54743-00 U-Line Door Gasket Black
Product Details
Reviews
Replaces Parts
Installation Instructions
Compatible Models
Compatible Brands
80-54743-00 U-Line Door Gasket Black
Please Verify Your Purchase to Submit a Review
Please note: We use this information only to confirm your purchase, it won’t be published.
The following parts are replaced by this product
- 12094-20
1. Begin by turning off the power to your refrigerator and unplugging it from the wall socket.
2. Then remove the screws that hold the door liner in place with a Phillips screwdriver. Be sure to keep the screws separated so they can be easily identified.
3.Remove the door liner by gently pulling it away from the freezer compartment.
4. Carefully inspect the existing U-Line 80-54743-00 Door Gasket BLACK for any signs of wear or damage. If any signs of damage are noticed, you should replace the gasket completely.
5. Position the new U-Line 80-54743-00 Door Gasket BLACK in place, making sure that the sides are evenly aligned.
6. To secure the gasket to the door liner, use the Phillips screwdriver to attach the screws that were removed earlier.
7. Once the screws have been attached, make sure that the seal of the gasket and liner are tightly secured by running your finger along the edges to ensure a tight fit.
8. Finally, you can reconnect the power to the refrigerator, plugging it back into the wall socket.
Please keep in mind, these instructions are for general guidance and should always be used in conjunction with the manufacturer's manual, if available.


